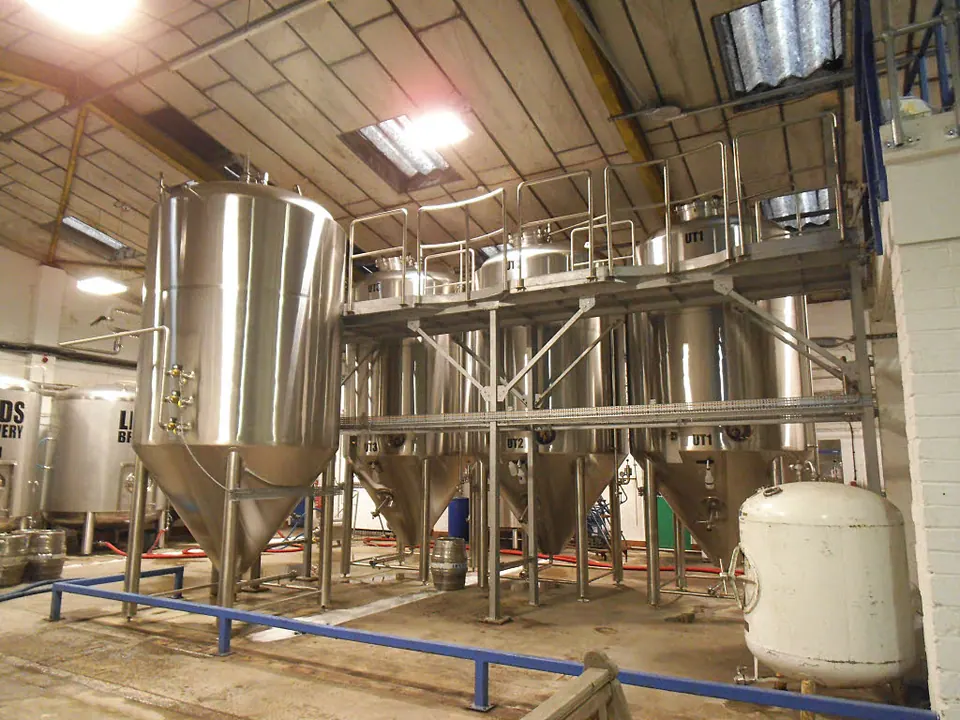
- Pressure fermenting means fermenting in a sealed, pressure-rated vessel with a spunding valve that holds pressure and vents the excess.
- Pressure suppresses esters and reduces diacetyl, which lets you ferment warmer with a cleaner result. BYO’s author recommends about 10–15 psi.
- Higher is not better: at 30 psi (2 bar), BYO’s test found muted malt and harsher bitterness.
- A spunding valve is not a safety device. The vessel needs its own pressure relief valve, and you must never exceed the maker’s rating.
- Near the end of fermentation you can raise the setting to carbonate the beer naturally, then transfer under pressure without oxygen.
Pressure fermenting has moved from commercial breweries into homebrew garages thanks to affordable pressure-rated fermenters and corny kegs. The idea is simple: instead of letting CO2 escape through an airlock, you hold some of it in the vessel with an adjustable valve. That pressure changes how yeast behaves, lets you carbonate the beer as it finishes and makes oxygen-free transfers easy.
This guide draws on John Blichmann’s BYO article “Fermenting Under Pressure,” BYO’s pieces on spunding valves and the pressure ratings printed by vessel makers. Pressure vessels store energy, so the safety section matters as much as the recipe.
What does fermenting under pressure do?
In Blichmann’s BYO test, three batches fermented at about 68°F (20°C) at 0, 15 and 30 psi. The unpressurized beer had noticeable fruity esters, 15 psi had lower esters and 30 psi very low esters. Pressure also greatly reduced diacetyl. The pressurized beers finished within about two weeks, against about eight weeks for a traditional lager with a diacetyl rest and lagering.
Blichmann’s conclusion is balanced: pressure fermentation at room temperature gets “pretty darn close” to a true lager, but the traditional lagers were still maltier and better balanced. Treat it as a useful tool, not a perfect substitute for cold fermentation.
Why pressure changes the flavor
Yeast responds to its surroundings. Dissolved CO2 rises as pressure rises, and higher CO2 levels slow yeast growth and the reactions that produce many fruity esters and fusel alcohols. That is the mechanism brewers use: instead of cooling the beer to keep esters down, they hold it at a moderate pressure and let the CO2 do part of the work.
The trade-off is that the same effect can slow fermentation if the pressure is high from the very first hours, when yeast is still multiplying. That is why many brewers start at low or no pressure and raise it once fermentation is underway, and why BYO’s spunding article advises letting pressure build gradually. Temperature still matters: pressure narrows the flavor gap between warm and cold fermentation, it doesn’t erase it.
What you need
Pressure fermenting gear and listed ratings
| Vessel or part | Listed rating | Notes |
|---|---|---|
| KegLand FermZilla All Rounder 30L pressure kit | 2.5 bar (36.2 psi) | PET; kit adds a spunding valve and PRV (per listing) |
| KegLand FermZilla Tri-Conical 27L Gen3 | Up to 2.4 bar | PET unitank with dump valve |
| VEVOR 30L stainless fermenter | 15 psi | Stay well below 15 psi |
| 5 gal ball-lock corny keg (KegLand) | 130 psi operating | Ferment about 4 gal to leave headspace |
| KegLand Kegmenter 50L | Not listed | Check with the maker before pressurizing |
| Spunding valve | Adjustable range per model | Not a safety device |
Source: Maker listings; BYO: Fermenting under pressure
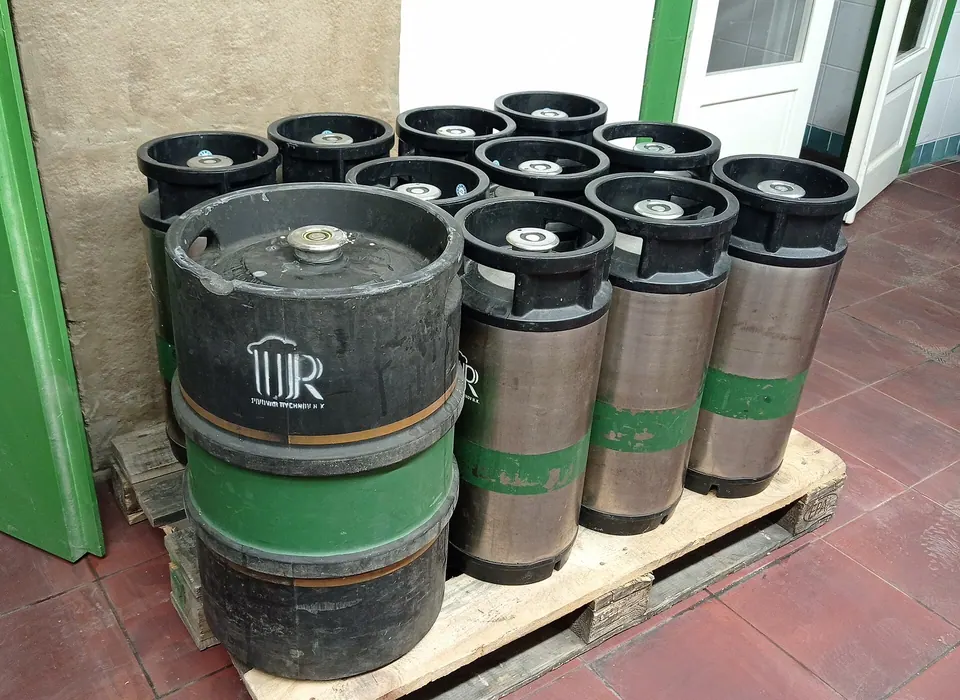
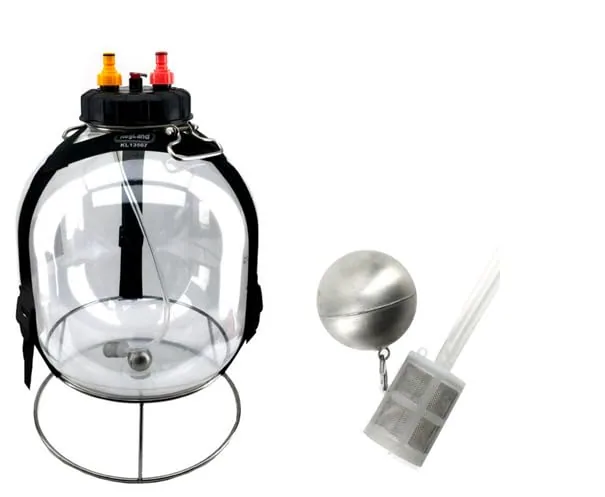
KegLand FermZilla All Rounder 30L Pressure Brewing Kit
- Volume
- 30 L (7.9 gal)
- Material
- PET
- Pressure
- 2.5 bar (36.2 psi)
Best for Pressure fermenting and closed transfers
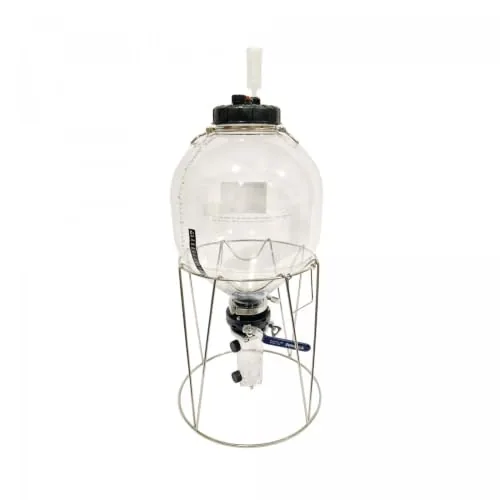
KegLand FermZilla Tri-Conical 27L Gen3
- Volume
- 27 L
- Material
- Clear PET
- Pressure
- Up to 2.4 bar
Best for Harvesting yeast under pressure
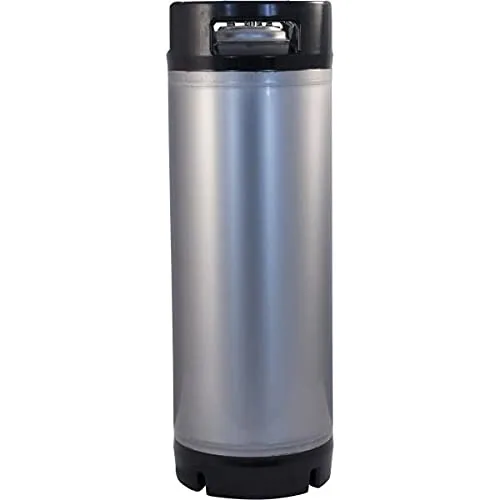
KegLand New Cornelius Keg, 5 Gal, Ball Lock
- Kegs
- 5 gal (19 L), ball lock
- Pressure
- 130 PSI operating
- Material
- 304 stainless
Best for First homebrew keg
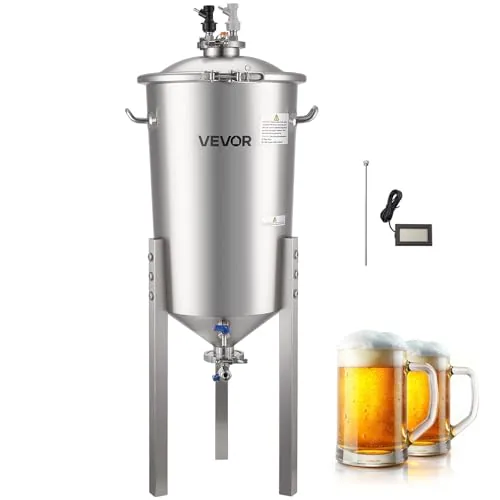
VEVOR 30L Stainless Pressure Fermenter, 15 PSI
- Volume
- 8 gal (30 L)
- Material
- Stainless steel
- Pressure
- 15 PSI
Best for Budget stainless pressure fermenting
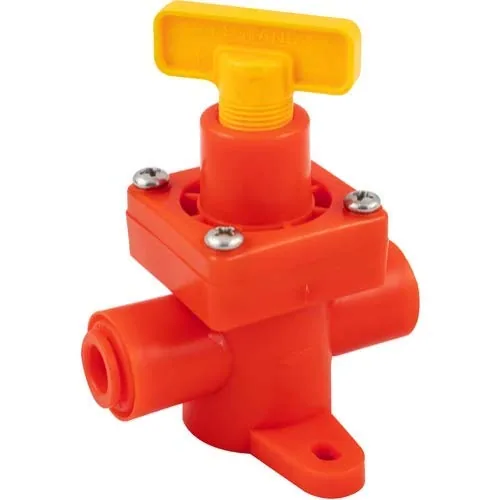
KegLand BlowTie Diaphragm Spunding Valve (KL03643)
- Pressure
- Adjustable (range not listed)
- Outputs
- Diaphragm spunding valve
- Type
- Spunding valve
Best for Pressure fermenting in kegs or FermZilla
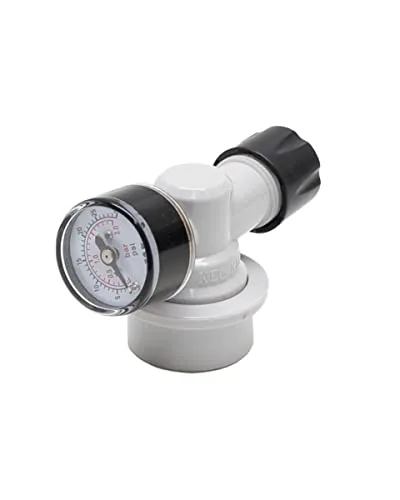
Keg King Spundy Compact Spunding Valve, Ball Lock
- Pressure
- Adjustable, accurate at low pressure (maker)
- Outputs
- Ball lock clip-on spunding valve
- Type
- Spunding valve
Best for Pressure fermenting in a corny keg
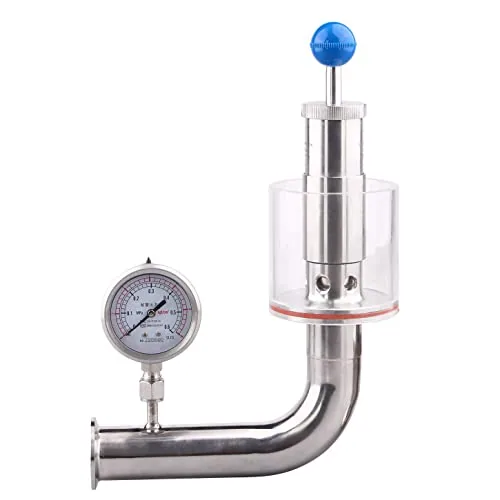
DERNORD 1.5 in. Tri-Clamp Spunding Valve with Gauge
- Material
- SS304, 1.5 in. tri-clamp
- Pressure
- Adjustable 0.5–3.5 bar
- Type
- Spunding valve
Best for Stainless conicals
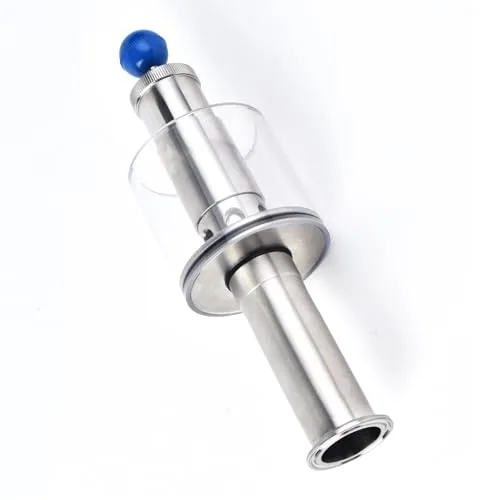
QiiMii 1.5 in. Tri-Clamp Spunding Valve, 0.2–2.2 Bar
- Material
- 304 stainless, 1.5 in. tri-clamp
- Pressure
- Adjustable 0.2–2.2 bar
- Type
- Spunding valve
Best for Low-pressure conical setups
PET pressure fermenters also have temperature limits that are lower under pressure; one FermZilla kit listing gives about 95°F under pressure. Read the manual for your exact model.
How to set a spunding valve
BYO’s method: connect a CO2 cylinder with its regulator set to your target pressure to the vessel, then adjust the spunding valve until it just stops venting. The valve now opens at that pressure. Some valves have their own gauge; others read on a separate gauge on the vessel.
- Inspect seals and the PRV
Check O-rings, the lid seal and that the vessel’s own pressure relief valve moves freely.
- Fill, pitch and seal
Leave headspace (about 20% in fermenters; about 4 gal in a 5 gal corny keg). A drop of antifoam helps keep krausen out of the valve, as BYO’s spunding article suggests.
- Let it start (optional)
Some brewers let fermentation start unpressurized for the first day, then attach the valve. BYO’s article on spunding notes that high pressure from the very start slows yeast growth.
- Hold 10–15 psi
Set the valve in the range BYO’s author recommends, and keep fermentation temperature controlled; pressure is not a license to ignore temperature.
- Raise to carbonate near the end
When about 1°P of gravity remains (roughly 0.004 SG), raise the valve setting to the chart pressure for your target volumes at the beer’s temperature. The yeast finishes carbonating the beer.
- Confirm final gravity
Take samples through a picnic tap or sampling valve and look for two matching readings.
- Cold crash and transfer under pressure
Chilling drops pressure; top up with CO2 to keep it positive. Then push the beer into a purged keg through the liquid posts.
Keg pressure (psi, sea level) by beer temperature and target CO2 volumes
| Beer temp | 1.8 vol | 2.0 vol | 2.2 vol | 2.4 vol | 2.6 vol | 2.8 vol | 3.0 vol | 3.2 vol |
|---|---|---|---|---|---|---|---|---|
| 32°F 0°C | 1.6 | 3.5 | 5.4 | 7.3 | 9.2 | 11.0 | 12.9 | 14.8 |
| 34°F 1.1°C | 2.3 | 4.3 | 6.3 | 8.2 | 10.2 | 12.1 | 14.1 | 16.0 |
| 36°F 2.2°C | 3.1 | 5.1 | 7.2 | 9.2 | 11.2 | 13.3 | 15.3 | 17.3 |
| 38°F 3.3°C | 3.9 | 6.0 | 8.1 | 10.2 | 12.3 | 14.4 | 16.5 | 18.6 |
| 40°F 4.4°C | 4.7 | 6.8 | 9.0 | 11.2 | 13.4 | 15.5 | 17.7 | 19.8 |
| 42°F 5.6°C | 5.5 | 7.7 | 10.0 | 12.2 | 14.4 | 16.7 | 18.9 | 21.1 |
| 44°F 6.7°C | 6.3 | 8.6 | 10.9 | 13.2 | 15.5 | 17.8 | 20.1 | 22.4 |
| 46°F 7.8°C | 7.1 | 9.5 | 11.8 | 14.2 | 16.6 | 19.0 | 21.3 | 23.7 |
| 48°F 8.9°C | 7.9 | 10.4 | 12.8 | 15.3 | 17.7 | 20.1 | 22.6 | 25.0 |
| 50°F 10°C | 8.7 | 11.3 | 13.8 | 16.3 | 18.8 | 21.3 | 23.8 | 26.3 |
| 52°F 11.1°C | 9.6 | 12.2 | 14.8 | 17.3 | 19.9 | 22.5 | 25.1 | 27.6 |
| 54°F 12.2°C | 10.4 | 13.1 | 15.7 | 18.4 | 21.1 | 23.7 | 26.3 | 29.0 |
| 56°F 13.3°C | 11.3 | 14.0 | 16.7 | 19.5 | 22.2 | 24.9 | 27.6 | 30.3 |
Formula: PSI = −16.6999 − 0.0101059·T + 0.00116512·T² + 0.173354·T·V + 4.24267·V − 0.0684226·V². Checked against the BYO grid (40°F and 2.4 vol: 11.19 psi by formula, 11.2 psi on the chart). Regulator gauges read relative to local air pressure. BYO notes that Denver needs about 3 psi over the sea-level chart; add roughly 0.5 psi per 1,000 ft. Sources: BYO: Carbonation priming chart; Brewer's Friend: Force carbonation chart; Brewers Association: Draught Beer Quality Manual.
Keg carbonation chart and PSI calculatorFind the pressure that gives your target carbonation at the beer’s temperature, then set the spunding valve to it.Pressure safety
A sealed fermenter full of fermenting beer is a pressure vessel. BYO’s safety points are blunt, and they are the rules to follow:
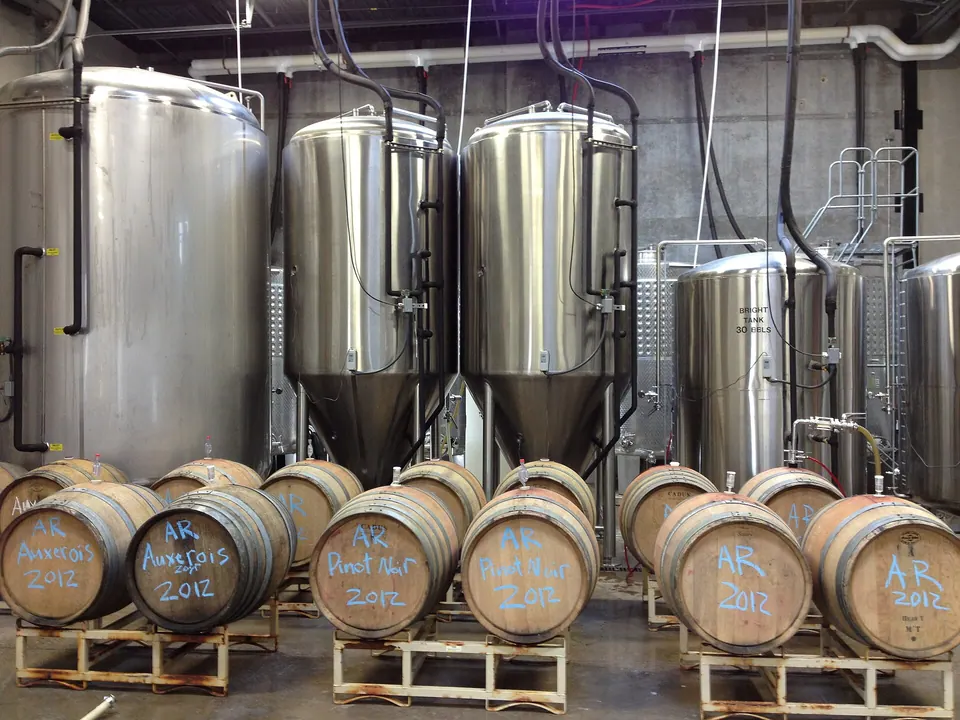
- Use a separate, dedicated pressure relief valve on any pressure vessel. A spunding valve is not a safety device.
- Never exceed the maker’s rated pressure, and never tamper with relief devices.
- Don’t vent through the PRV during fermentation; hop debris or yeast can plug it.
- Be able to release all pressure to zero before opening the vessel, and always do so.
- Use a CO2 regulator for any gas connection; never connect a cylinder directly to a vessel.
Never pressure-ferment in glass carboys or ordinary buckets. Only vessels sold with a pressure rating belong in this process. Check PET vessels for scratches, crazing or cracks before each use, and retire them if you find any.
Closed transfers: the other big benefit
Even if you never change your fermentation temperature, a pressure-capable fermenter lets you move finished beer into a keg without it ever touching air. Oxygen pickup during transfer is a main cause of dull, stale hoppy beers, so this alone justifies the gear for many IPA brewers.
- Fill a clean keg with sanitizer and push it out with CO2 so the keg is full of CO2.
- Connect a liquid line from the fermenter’s beer-out port to the keg’s liquid-out post.
- Connect the keg’s gas post to a spunding valve set a few psi below the fermenter pressure, or vent it slowly by hand.
- Let the pressure difference push the beer across; keep the fermenter topped up with CO2 so its pressure stays positive.
- When gas spurts through the line, the transfer is done. Close the valves before disconnecting.
Stay under both vessels’ ratings throughout, and keep the PRVs free.
Styles and recipes that benefit
- Lager-style beers without a long lagering schedule: lager yeast warmer than usual under pressure, for example W-34/70 or NovaLager.
- Clean American ales in a warm space: pressure keeps esters down when temperature control is limited.
- Hoppy beers: closed, oxygen-free transfers protect hop aroma.
- Not ideal: styles that depend on yeast esters, such as hefeweizen and many Belgian ales.
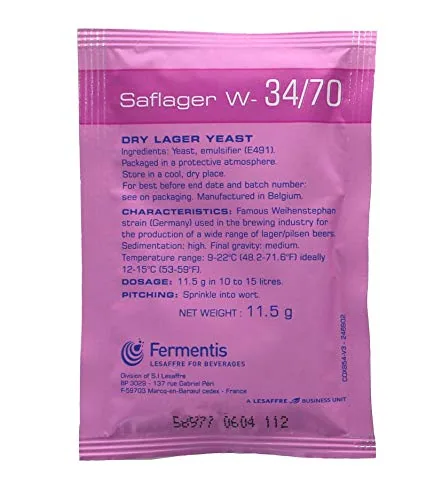
Fermentis SafLager W-34/70 Dry Lager Yeast, 11.5 g
- Type
- Dry lager yeast
- Temp
- 48–68°F (9–20°C)
Best for Lagers in a cool basement or fridge
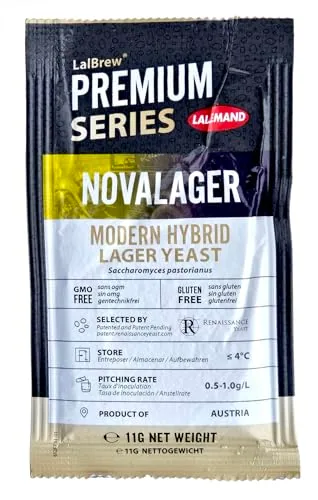
Lallemand LalBrew NovaLager Hybrid Yeast, 11 g
- Type
- Dry hybrid lager yeast
Best for Lagers without a dedicated lager fridge
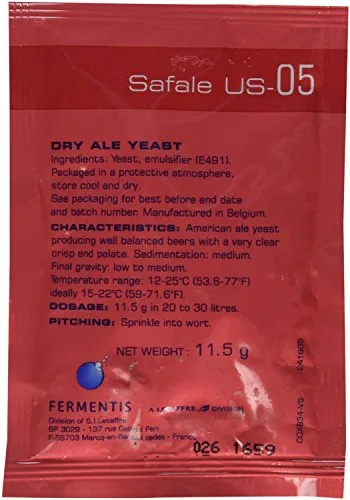
Fermentis SafAle US-05 Dry Ale Yeast, 11.5 g
- Type
- Dry ale yeast, American
- Dose
- 50–80 g/hL (11.5 g ≈ 3.8–6 gal)
- Temp
- 59–75°F (15–24°C)
Best for American pale ales and IPAs
Beer styles by the numbers (BJCP 2021 vital statistics)
| Style | OG | FG | IBU | Color (SRM) | ABV |
|---|---|---|---|---|---|
| 4A Munich Helles | 1.044–1.048 | 1.006–1.012 | 16–22 | 3–5 | 4.7–5.4% |
| 5D German Pils | 1.044–1.050 | 1.008–1.013 | 22–40 | 2–4 | 4.4–5.2% |
| 18B American Pale Ale | 1.045–1.060 | 1.010–1.015 | 30–50 | 5–10 | 4.5–6.2% |
| 21A American IPA | 1.056–1.070 | 1.008–1.014 | 40–70 | 6–14 | 5.5–7.5% |
Source: BJCP 2021 Beer Style Guidelines. Ranges are for judging; your recipe can sit anywhere inside them. Color swatches are an on-screen approximation.
Mistakes to avoid
- Treating the spunding valve as a safety valve. Keep a PRV on the vessel.
- Going high to be “safe” on esters. BYO found 30 psi hurt malt and bitterness.
- Overfilling. Krausen clogs valves; leave headspace and use antifoam.
- Ignoring temperature limits on PET. Lower limits apply under pressure.
- Opening a pressurized lid. Vent to zero first.
- Cold crashing without CO2 backup. Pressure drops and can pull in air or sanitizer.
- Using vessels without a listed rating. If the rating isn’t listed, don’t pressurize it.
Who should try pressure fermenting
- Already kegging: a corny keg plus a spunding valve is the lowest-cost entry.
- Want lager-like beer without months of lagering: a pressure-rated fermenter and lager yeast.
- Care about hop freshness: closed transfers are the main win.
- Brand new to brewing: learn standard fermentation first; see the fermentation temperature guide.
For carbonation background, read carbonation explained; for keg handling, how to keg homebrew. Record pressure settings and temperatures in the brew-day log.
Gear picks for this guide: best pressure fermenters and best CO2 regulators for kegging.