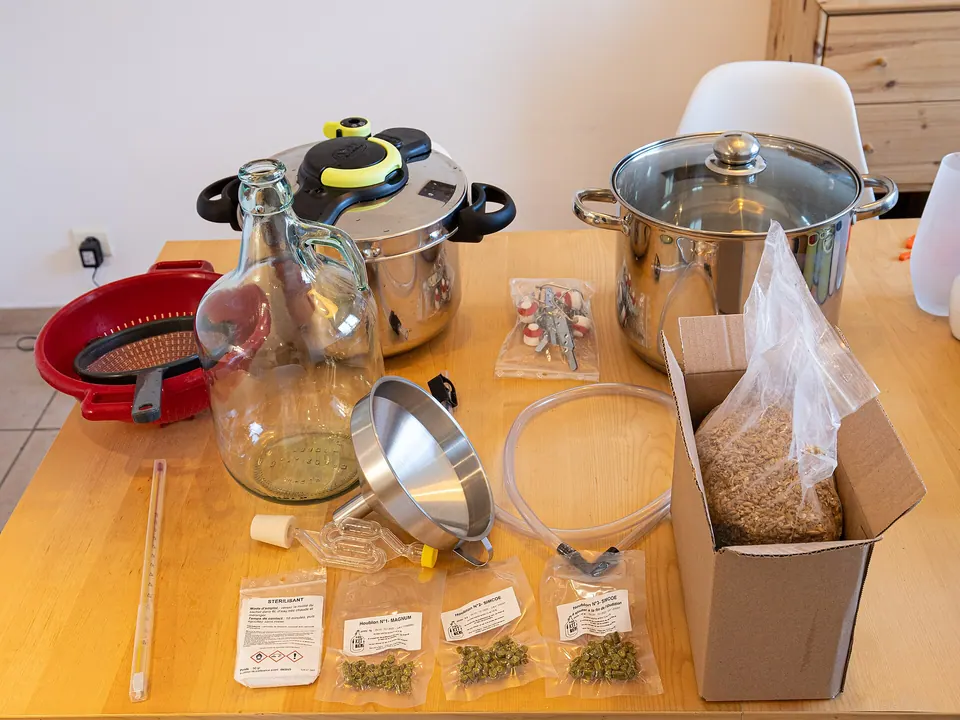
- Every batch needs gear for six jobs: boil, chill, ferment, measure, clean and sanitize, and package.
- Starter kits usually cover fermenting, sanitizing and bottling tools, but often not the kettle or the roughly 50 bottles a 5 gal batch fills.
- Buy a kettle bigger than you need today; it is the piece most people replace first.
- Temperature control and a hydrometer improve beer more than any shiny upgrade.
- Use the budget builder to price your own list; we don’t publish prices because they change daily.
This homebrew equipment checklist lists everything a 5 gal (19 L) batch needs, grouped by the job each item does, so you can check a starter kit against it and see what is missing. It also marks what is essential on day one and what can wait.
The list follows the process in Palmer’s How to Brew and the contents of common starter kits from Northern Brewer, Brewer’s Best and Home Brew Ohio, as listed by the makers. For a 1 gal batch, scale the vessels down and skip the chiller; everything else stays the same.
The essential homebrew equipment checklist
Print this table or copy it into your notes. “Day one” items are needed for a first extract batch. “Soon” items fix the most common problems. “Later” items are upgrades.
5 gal extract batch: equipment by stage
| Stage | Item | When | In most starter kits? |
|---|---|---|---|
| Boil | Kettle, 5 gal (19 L) for partial boils, 8 gal (30 L)+ for full boils | Day one | ✗ Often not; some kits add one |
| Boil | Long stainless spoon, kitchen timer | Day one | ~ Spoon sometimes |
| Boil | Mesh steeping bag | Day one | ✓ Usually with the recipe kit |
| Chill | Ice bath or immersion chiller | Day one / soon | ✗ Chiller rarely included |
| Ferment | 6.5 gal bucket or 6 gal carboy, lid or stopper, airlock | Day one | ✓ Yes |
| Ferment | Stick-on or probe thermometer | Day one | ~ Some kits |
| Ferment | Temperature controller and fridge or chamber | Soon | ✗ No |
| Measure | Hydrometer and test jar | Day one | ~ Many kits; some leave it out |
| Measure | Instant-read thermometer | Day one | ✗ Usually not |
| Clean | Unscented cleaner (PBW, OneStep), brushes | Day one | ~ A cleaner sample sometimes |
| Sanitize | No-rinse sanitizer such as Star San, spray bottle | Day one | ~ Varies |
| Transfer | Auto-siphon, tubing, bottling bucket with spigot | Day one | ✓ Usually |
| Package | Bottle filler, capper, caps | Day one | ✓ Usually |
| Package | About 50 × 12 oz bottles (or 26 × 22 oz) | Day one | ✗ Usually not |
| Package | Priming sugar and a kitchen scale | Day one | ~ Sugar often in the recipe kit |
| Record | Brew log or notebook | Day one | ✗ Free printable on this site |
Source: Northern Brewer, Brewer’s Best and Home Brew Ohio kit listings; Palmer, How to Brew
Starter kits: what they include and leave out
A starter kit is the fastest way to tick most of the list at once. The difference between kits is usually the kettle, the fermenter type (bucket, PET or glass) and whether bottles are included.
| Product | Batch size | Type | Fermenter | Includes | Still need |
|---|---|---|---|---|---|
| Northern Brewer Brew. Share. Enjoy. Starter Kit, Block Party Amber | 5 gal | Extract recipe kit + equipment | Siphonless fermenter | Block Party Amber recipe kit | — |
| Northern Brewer Starter Kit with Kettle, Chinook IPA, 5 Gal | 5 gal | Extract recipe kit + equipment | — | Brew kettle, testing equipment, Chinook IPA recipe kit | — |
| Brewer’s Best Deluxe Equipment Kit with Better Bottle, American Amber | 5 gal | Equipment + ingredient kit | Better Bottle PET carboy | Boil kettle, American Amber ingredient kit | Bottles |
| Home Brew Ohio Essential 5 Gal Beer Equipment Kit | 5 gal | Equipment kit | 6.5 gal fermentor | Bottling bucket, auto-siphon, hydrometer, capper, thermometer | Brew pot, recipe kit, bottles |
| Home Brew Ohio K6 Beer Equipment Kit with 6 Gal Glass Carboy | 5 gal | Equipment kit | 6 gal glass carboy | — | Recipe kit |
Specs as listed by the maker or seller; check the listing before you buy.
If a kit leaves out the kettle, buy one that is bigger than the batch. A 5 gal pot works for extract partial boils, but an 8–10 gal pot handles full boils and later all-grain brew-in-a-bag without a second purchase.
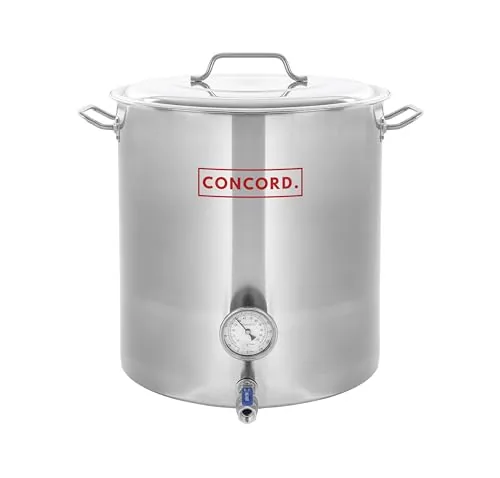
Concord Stainless Brew Kettle, Weldless Fittings, 7.5 gal
- Volume
- 30 qt (7.5 gal)
- Power
- Stovetop or outdoor burner
- Material
- Stainless steel, 304 stainless fittings
Best for 7.5 gal boils on a budget
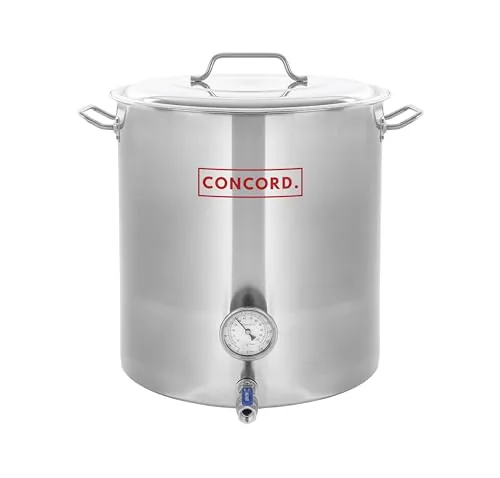
Concord Stainless Brew Kettle, Weldless Fittings, 10 gal
- Volume
- 40 qt (10 gal)
- Power
- Stovetop or outdoor burner
- Material
- Stainless steel, 304 stainless fittings
Best for 10 gal boils on a budget
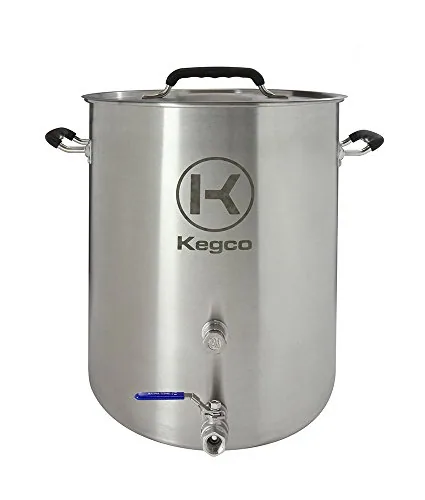
Kegco 3PXBK8-P2 Brew Kettle with Ball Valve, 8 Gal
- Volume
- 8 gal (32 qt)
- Material
- 304 stainless, tri-clad bottom
- Type
- Brew kettle with weldless ball valve
Best for 5-gallon full boils
Boil and chill
Stainless kettles with a ball valve make transfers easier and avoid lifting hot liquid. Aluminum works too, though it should be boiled with water first to build an oxide layer.
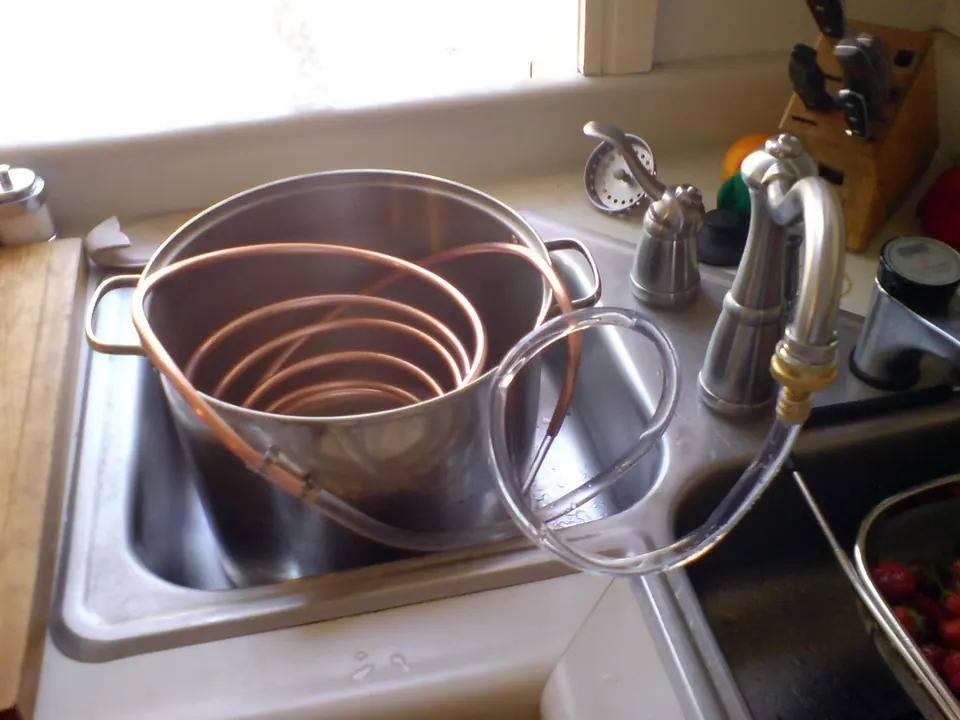
Chilling an extract partial boil in an ice bath takes time but works. Full-volume boils need an immersion chiller connected to a faucet or garden hose. Copper conducts heat faster; stainless is easier to keep shiny.
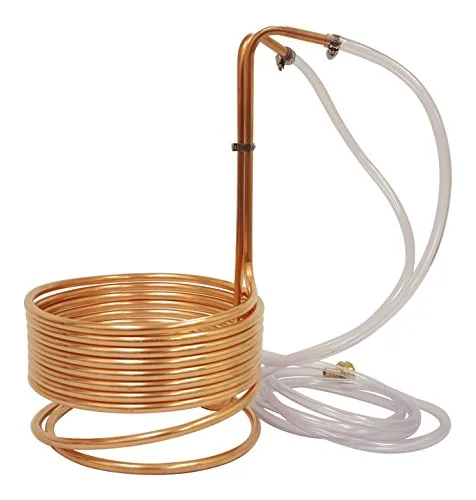
NY Brew Supply Copper Immersion Wort Chiller, 3/8 in. x 25 ft
- Volume
- 3/8 in. × 25 ft, 9 1/4 in. coil, 16 in. tall
- Material
- Copper
- Type
- Immersion chiller
Best for First chiller for 5-gallon batches
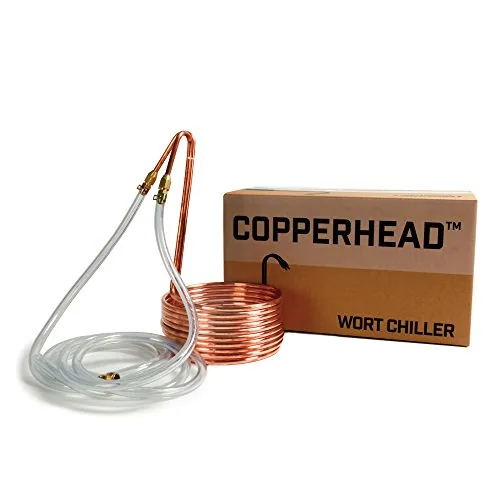
Northern Brewer Copperhead Copper Immersion Chiller, 25 ft
- Volume
- 3/8 in. × 25 ft
- Material
- Copper
- Type
- Immersion chiller
Best for 5-gallon kettle chilling
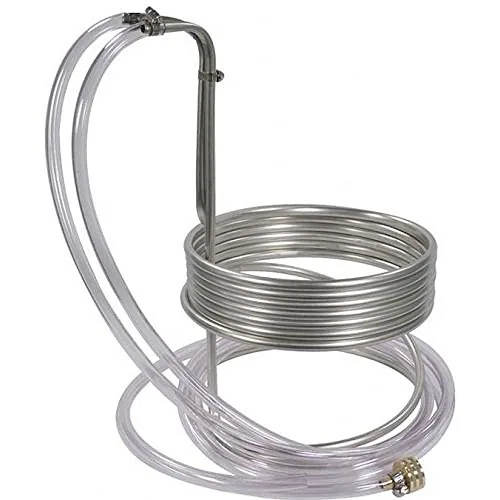
Stainless Immersion Wort Chiller, 25 ft
- Volume
- 25 ft, 9 in. coil, 16 in. tall
- Material
- Stainless steel
- Type
- Immersion chiller
Best for Stainless chiller for 5-gallon kettles
Ferment and control temperature
Buckets are cheap, wide and easy to clean. PET carboys and FermZilla-style fermenters let you see the beer and seal better. Glass doesn’t scratch, but it is heavy and dangerous when it breaks. Whatever you choose, leave about 20% headspace for foam.
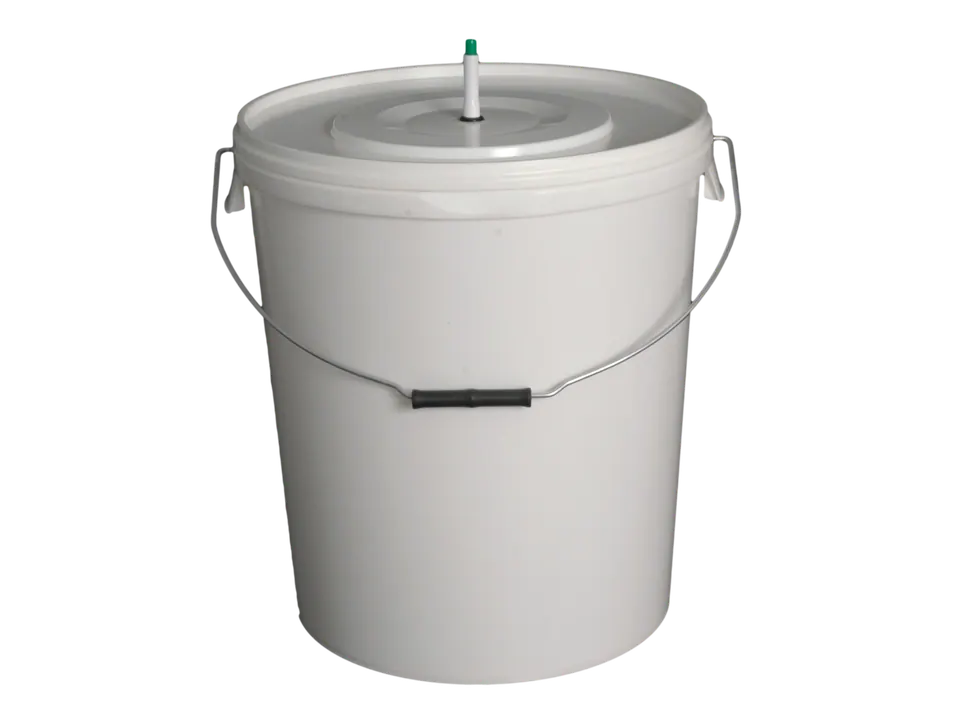
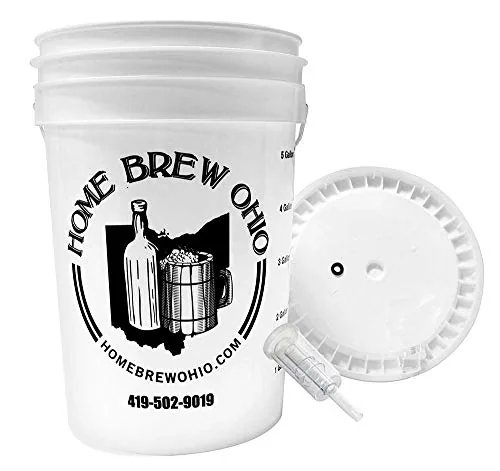
Home Brew Ohio 6.5 Gal Fermenting Bucket with Lid and Airlock
- Volume
- 6.5 gal
- Material
- Plastic bucket
- Outputs
- Grommeted lid, 3-piece airlock
Best for 5-gallon primary fermentation
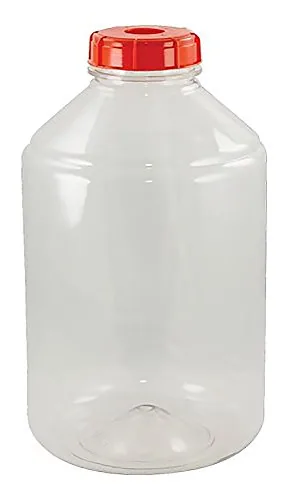
FerMonster 6 Gal Wide Mouth PET Fermenter
- Volume
- 6 gal
- Material
- PET plastic
- Outputs
- Drilled lid
Best for Unbreakable carboy alternative
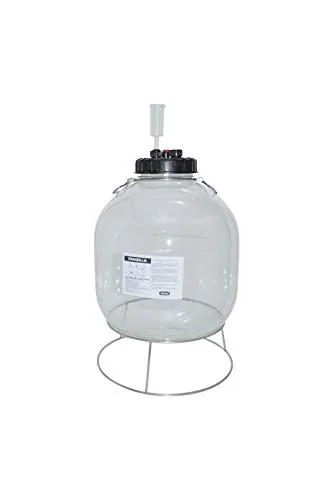
KegLand FermZilla All Rounder 30L PET Fermenter
- Volume
- 30 L (7.9 gal)
- Material
- PET
- Type
- Pressure fermenter
Best for Affordable pressure fermenting
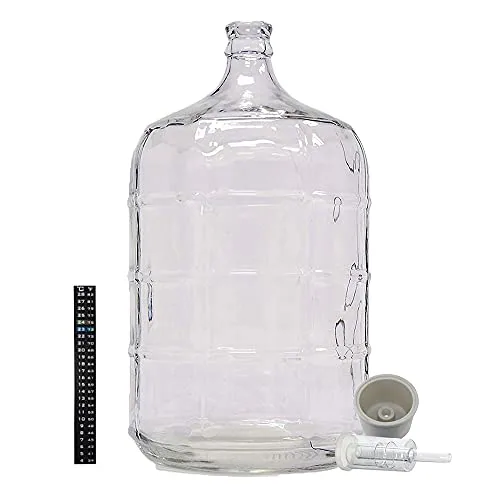
Home Brew Ohio 5 Gal Glass Carboy with Bung, Airlock and Thermometer
- Volume
- 5 gal
- Material
- Glass
- Outputs
- Drilled bung, 3-piece airlock, dual-scale thermometer
Best for Secondary or wine aging
Temperature control is the biggest upgrade most new brewers can make. A dual-stage controller plugged into a fridge (cooling) and a heat wrap (heating) holds the beer within a degree or two of the setting.
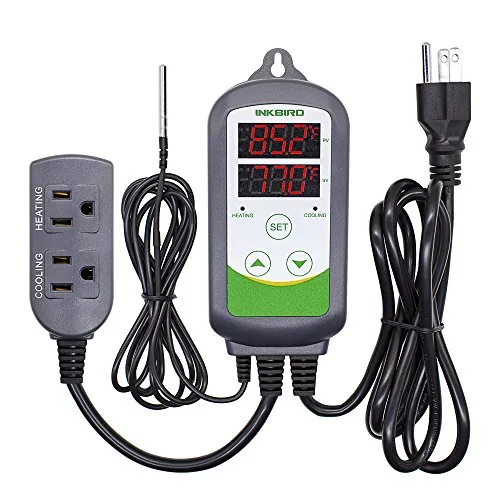
Inkbird ITC-308 Dual-Stage Temperature Controller, 110V
- Outputs
- 2 outlets: heating and cooling
- Range
- °C/°F display, high/low alarms
- Power
- 110V, 10A, 1100 W max (listing)
Best for Fridge or heat-wrap fermentation control
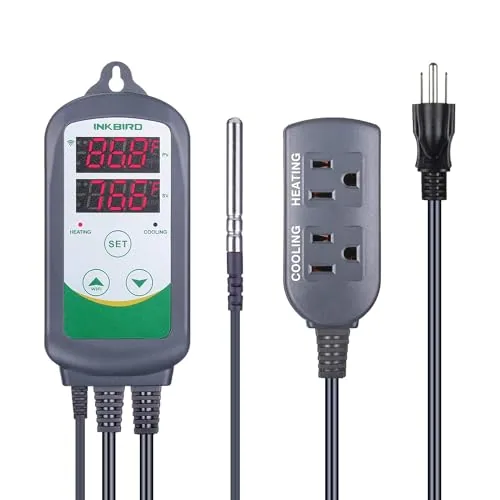
Inkbird ITC-308 Wi-Fi Dual-Stage Temperature Controller, 110V
- Outputs
- 2 outlets: heating and cooling
- Range
- °C/°F, calibration, high/low alarms
- Power
- 110V, 1100 W max (listing)
Best for Remote fermentation monitoring
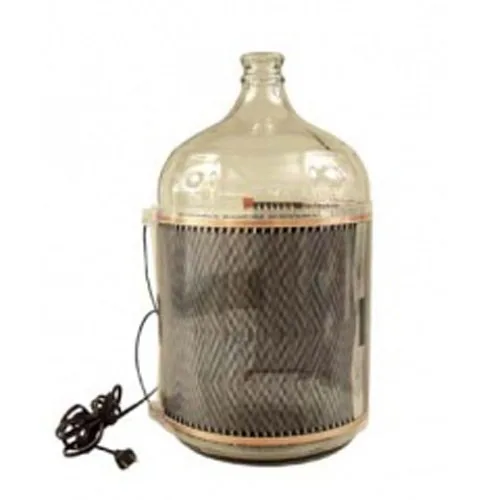
Eagle Brewing FE650 FermWrap Heater, 40W
- Material
- Flexible wrap, tape-on
- Outputs
- Flexible heating wrap, 40 W
- Type
- Fermentation heater
Best for Warming ales in a cold garage
Measure
A triple-scale hydrometer tells you the original gravity, when fermentation is finished and the ABV. An instant-read thermometer checks steeping and pitching temperatures. A refractometer or digital hydrometer is a later upgrade.
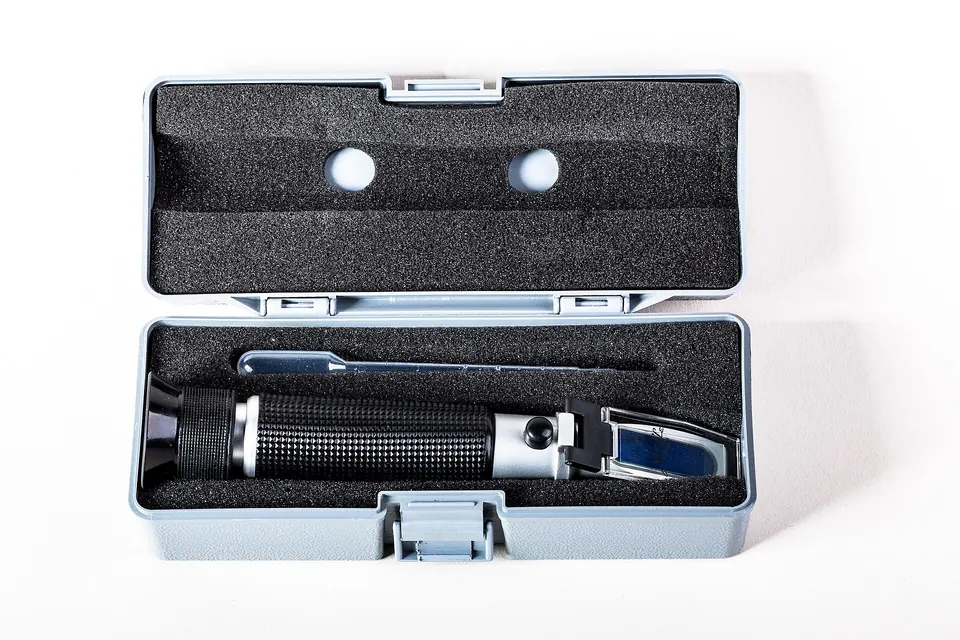
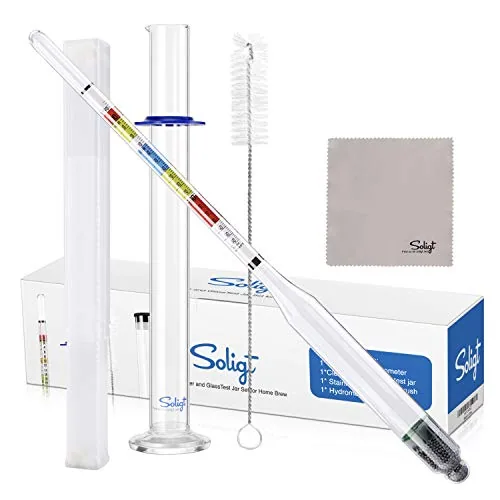
SOLIGT Triple Scale Hydrometer & Glass Test Jar Kit
- Range
- SG 0.990–1.170, Brix 0–35, potential ABV 0–20%
- Scale
- Triple (SG, Brix, potential alcohol)
Best for A complete first hydrometer kit
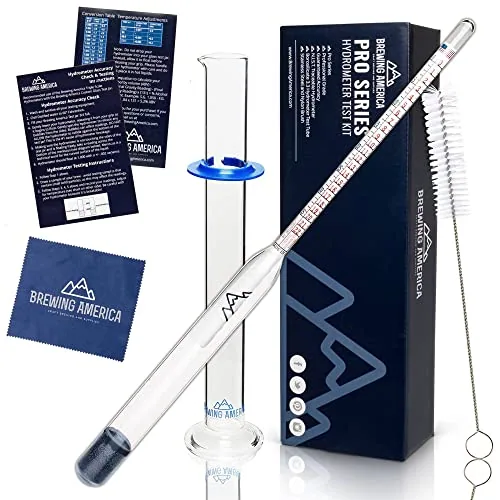
Brewing America Triple Scale Hydrometer & Test Jar (USA-Made)
- Range
- SG 0.990–1.170 (listing)
- Accuracy
- NIST-traceable (per maker)
- Scale
- Triple scale
Best for Brewers who want a US-made glass hydrometer
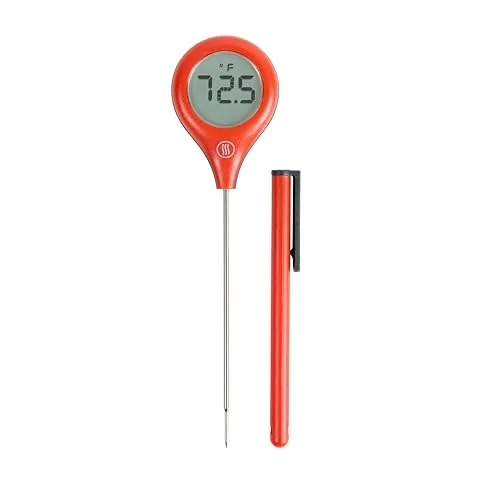
ThermoWorks ThermoPop 2 Instant-Read Thermometer
- Accuracy
- ±1°F (±0.5°C)
Best for An affordable first brewing thermometer
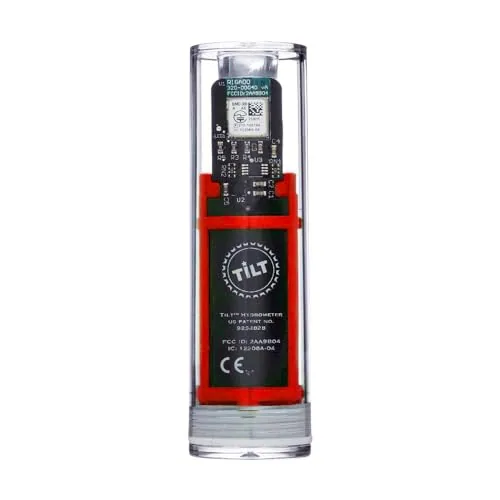
Tilt Wireless Hydrometer & Thermometer (Red)
- Range
- SG 0.990–1.120
- Accuracy
- ±0.002 SG (per Tilt)
- Connectivity
- Bluetooth to app or Tilt Pi
Best for A second fermenter alongside a black Tilt
Read how to use a hydrometer before brew day so you know what the readings mean.
Clean and sanitize
Cleaners remove residue; sanitizers kill what is left on a clean surface. You need both. PBW and OneStep are cleaners; Star San and iodophor are sanitizers. Use each only at the dilution printed on its label.
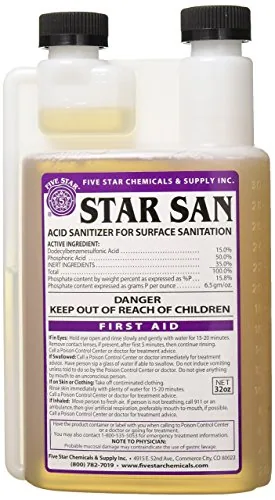
Five Star Star San Acid Sanitizer, 32 oz
- Type
- Acid sanitizer, high-foaming
- Use
- Sanitizer; no-rinse at label dilution
- Size
- 32 fl oz
Best for Sanitizing everything that touches cooled wort
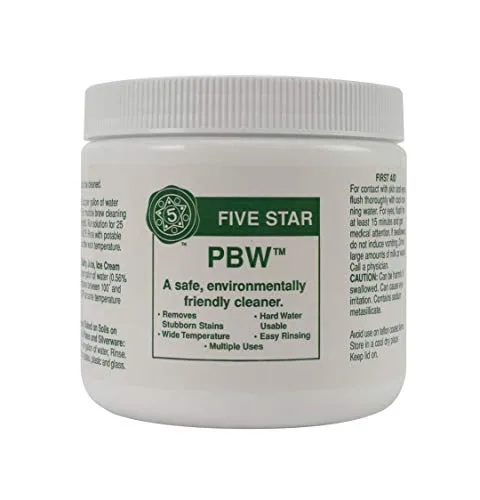
Five Star PBW Alkaline Cleaner, 1 lb
- Type
- Non-caustic alkaline powder
- Use
- Cleaner (not a sanitizer)
- Size
- 1 lb
Best for Soaking dirty fermenters and kettles
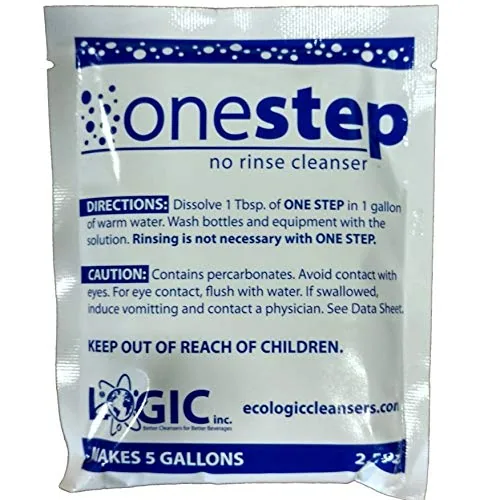
Logic OneStep No-Rinse Cleanser, 2.5 oz
- Type
- Oxygen-based powder
- Use
- No-rinse cleanser; 2-minute contact time
- Size
- 2.5 oz
Best for A first small batch
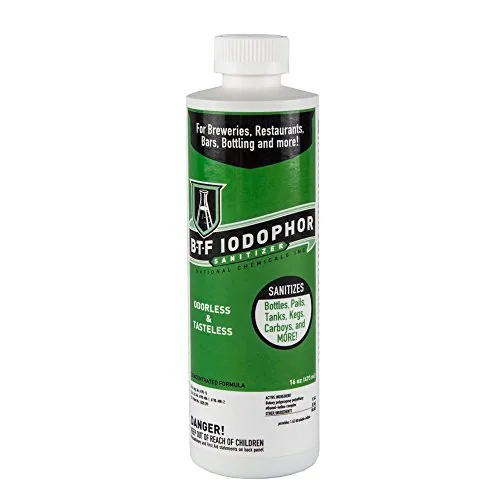
National Chemicals BTF Iodophor Sanitizer, 16 oz
- Type
- Iodophor
- Use
- Sanitizer; no-rinse, low-foam per label
- Size
- 16 fl oz
Best for Brewers who want a low-foam sanitizer
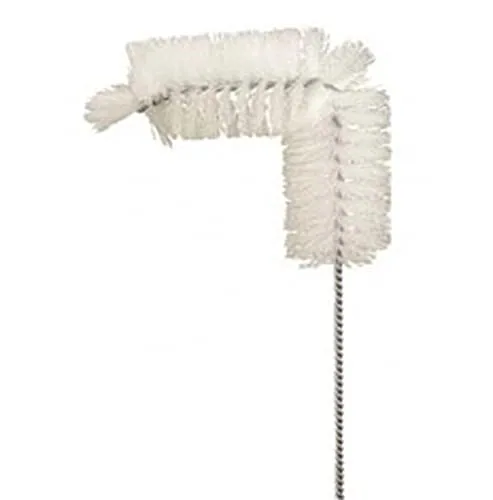
Eagle Brewing CE40 Bent Carboy Brush
- Type
- Bent brush, stainless handle
Best for Glass carboy cleaning
More detail in cleaning vs sanitizing.
Transfer and package
An auto-siphon moves beer without mouth-starting a siphon. A bottling bucket with a spigot and a spring-tip bottle filler make filling clean and fast. Wing cappers are cheap; bench cappers are easier on long bottling days and handle odd bottle shapes better.
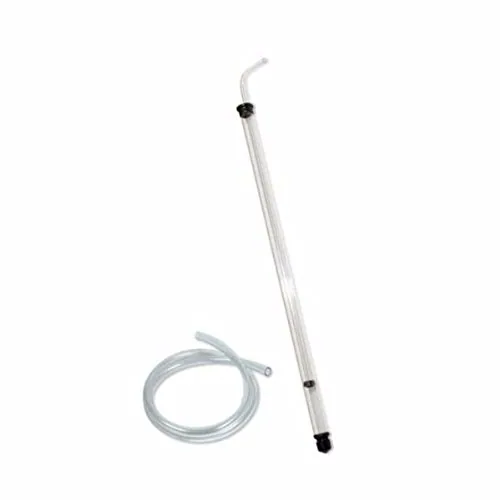
Fermtech Regular 5/16 in. Auto-Siphon, 24 in., with 8 ft Tubing
- Type
- Auto-siphon
- Size
- 5/16 in., 24 in. long, 8 ft tubing
Best for Racking and bottling 5-gallon batches
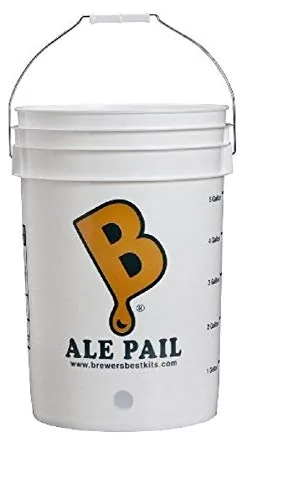
Brewer’s Best 6.5 Gal Bottling Bucket
- Type
- Bottling bucket
- Size
- 6.5 gal
Best for Replacing a bottling bucket
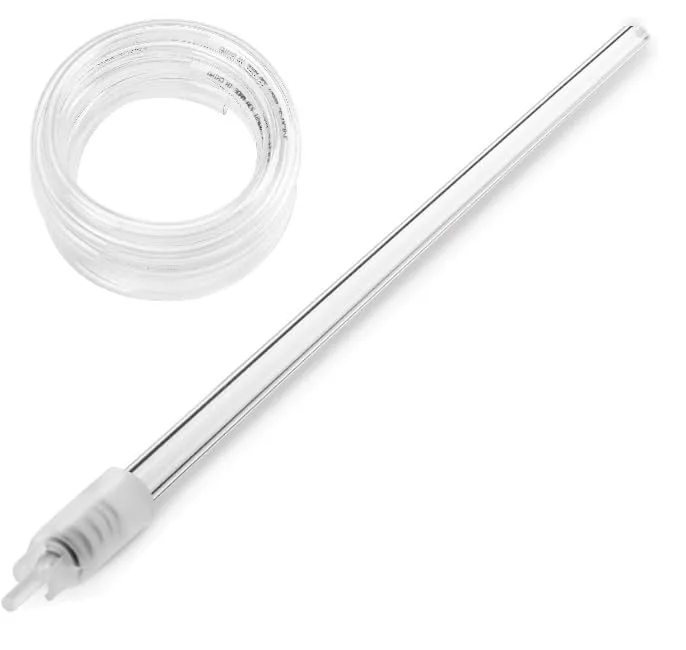
Fermtech Spring Bottle Filler with 6.5 ft Tubing
- Type
- Spring-tip bottle filler
- Size
- With 6.5 ft NSF 51 tubing
Best for First bottling setup
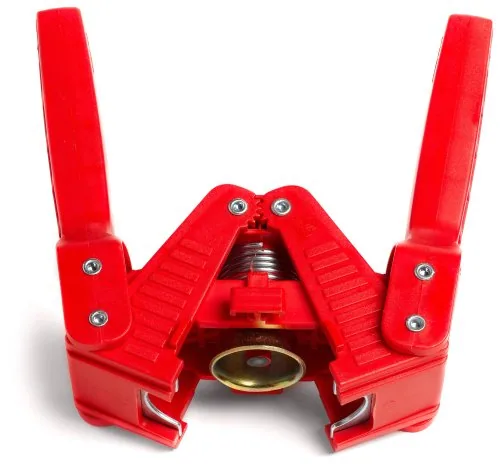
FastRack Red Baron Bottle Capper
- Type
- Handheld capper with magnetic bell
- Cap size
- 26 mm
Best for First bottling day
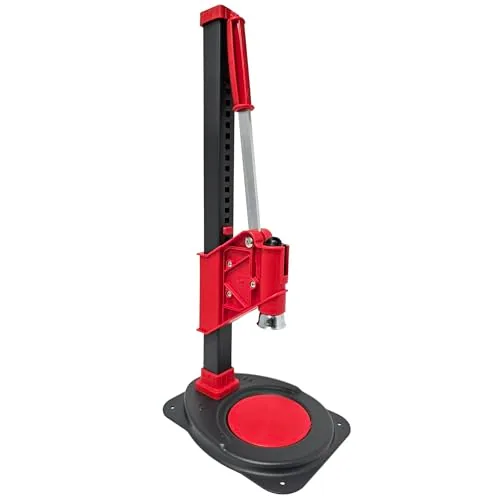
Ferrari Super Agata Bench Capper
- Type
- Adjustable bench capper
- Cap size
- Standard crown
Best for Bottling 5-gallon batches
Use standard, heavy pry-off bottles. Twist-off bottles often don’t seal well with a standard capper. Swing-tops work if the gaskets are in good condition.
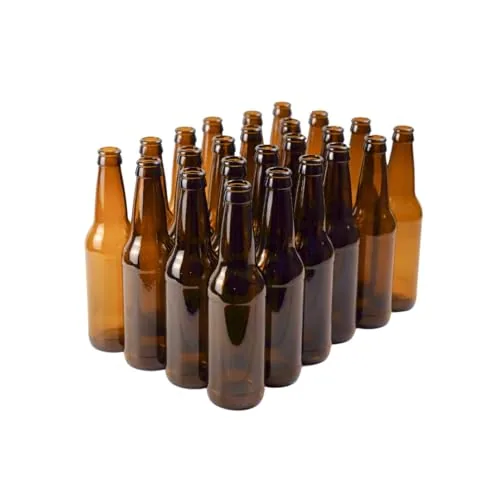
FastRack 12 oz Amber Longneck Beer Bottles, 24-Pack
- Type
- Pry-off amber longneck
- Count
- 24
- Size
- 12 oz
Best for A first bottling day
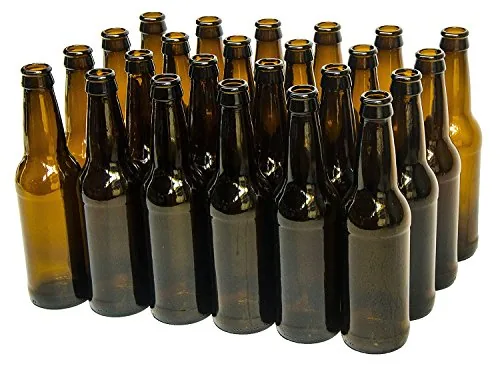
North Mountain Supply 12 oz Amber Longneck Bottles, 24-Pack
- Type
- Pry-off amber longneck
- Count
- 24
- Size
- 12 oz
Best for Bottling 5-gallon batches
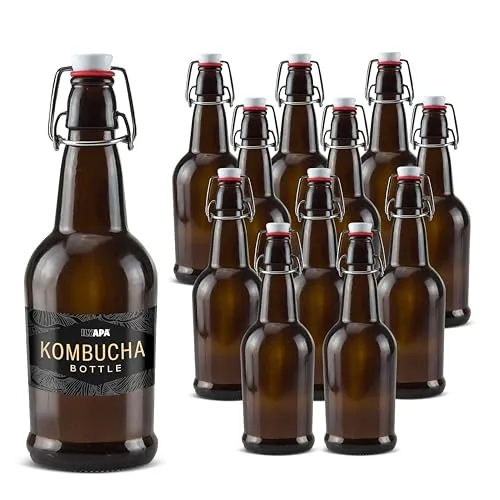
Ilyapa 16 oz Amber Swing-Top Bottles, 12-Pack
- Type
- Swing-top amber glass
- Count
- 12
- Size
- 16 oz
Best for Capper-free bottling
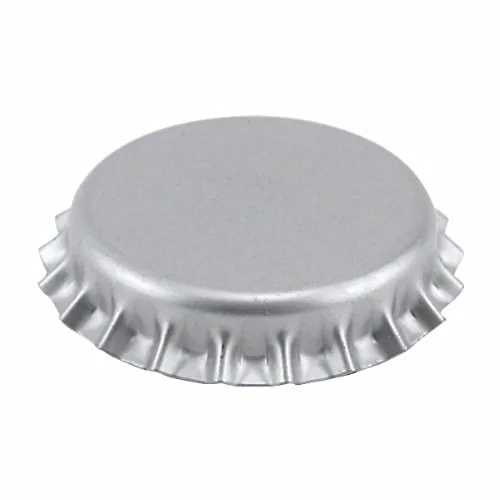
FastRack Oxygen Absorbing Crown Caps, 26 mm, 144 Ct
- Type
- Oxygen-absorbing pry-off caps
- Count
- 144
- Cap size
- 26 mm
Best for Standard bottling
Brew-day checklist: lay this out before you start
Owning the gear is half the job; having it clean, sanitized and within reach is the other half. Run through this list the evening before and again on the morning of brew day.
- Recipe printed, ingredients checked against it, yeast date and storage checked.
- Kettle, spoon, steeping bag, timer and thermometer clean and on the counter.
- Fermenter, lid or stopper, airlock and gasket cleaned the day before and dry.
- Sanitizer mixed at the label dilution in a bucket, plus a spray bottle for small parts.
- Ice and a sink or tub ready for an ice bath, or the chiller connected and leak-checked with cold water.
- Top-up water chilled if you brew a partial boil (treated with Campden if your tap water uses chloramine).
- Hydrometer, test jar and a notepad or the printed brew log near the fermenter.
- Fermentation spot chosen and at temperature: away from sunlight, sheltered from big day-night swings.
- Heat-resistant gloves and a clear walkway between stove and sink; children and pets out of the brew area.
- For propane: burner set up outdoors on a level, non-combustible surface, hose leak-checked with soapy water, fire extinguisher nearby.
On bottling day, repeat the idea: bottles cleaned ahead, caps and bottling bucket sanitized, priming sugar weighed with the calculator, and a dry box ready to hold the filled bottles while they carbonate.
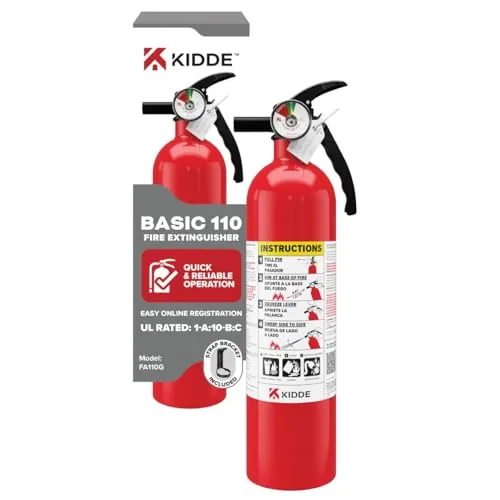
Kidde Basic 110 Fire Extinguisher, 1-A:10-B:C
- Volume
- Rated 1-A:10-B:C
- Material
- 2.5 lb dry chemical, UL listed
- Type
- Fire extinguisher
Best for Brew-day fire safety
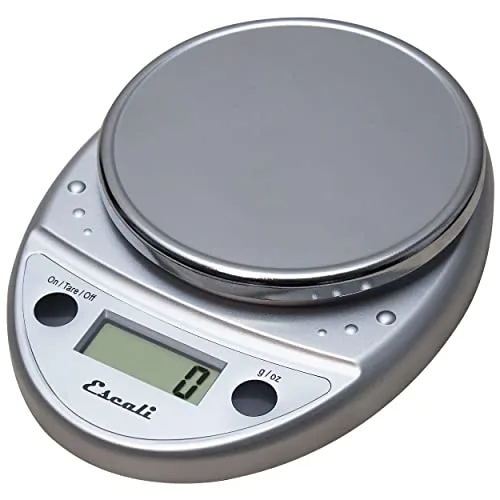
Escali Primo Digital Scale, 11 lb
- Range
- Up to 11 lb (5,000 g)
Best for Weighing hops and specialty grain
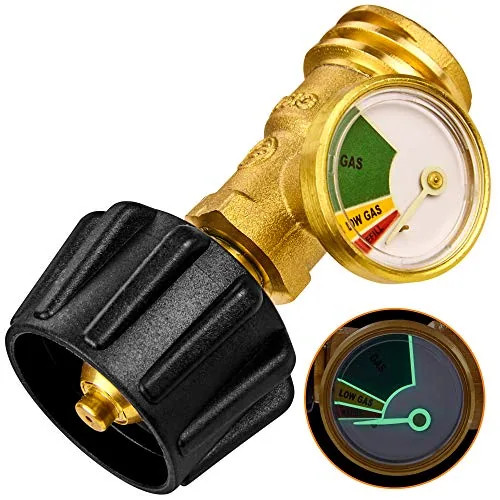
Flame King Propane Tank Gauge and Leak Detector
- Power
- Propane tank gauge (outdoor use)
- Material
- Brass, excess-flow shutoff
- Type
- Propane tank gauge
Best for Not running out mid-boil
Upgrades, in the order most brewers buy them
- Temperature control: controller plus a fridge or chamber. Fixes most off-flavors.
- Wort chiller: faster, cleaner chilling for full boils.
- Bigger kettle: full boils and a path to all-grain.
- Kegging setup: no more washing 50 bottles. See how to keg homebrew.
- All-grain gear: brew bag or electric all-in-one. See how to brew all-grain.
- pH meter and water salts: fine-tuning for all-grain brewers.
Mistakes to avoid when buying equipment
- Buying the smallest kettle. You will outgrow it on the first full boil.
- Skipping the hydrometer. Without it, you can’t tell when it is safe to bottle.
- Using scented dish soap or abrasive pads on plastic. Fragrance lingers and scratches hide bacteria.
- Mixing up cleaner and sanitizer. A no-rinse cleaner does not sanitize.
- Buying thin or twist-off bottles. They break or leak under pressure.
- Spending on gadgets before temperature control. A steady fermentation temperature beats almost any other upgrade.
Who needs what
- Apartment or gift for an adult 21+: a 1 gal kit plus a hydrometer and sanitizer.
- First 5 gal batch: a starter kit with kettle, about 50 bottles, a thermometer and a hydrometer.
- Second year: controller, chiller and a larger kettle, in that order.
- Planning ahead: list each path in the budget builder and type in the prices you see today.
Gear picks for this guide: best homebrew kits and best brewing sanitizers and cleaners.