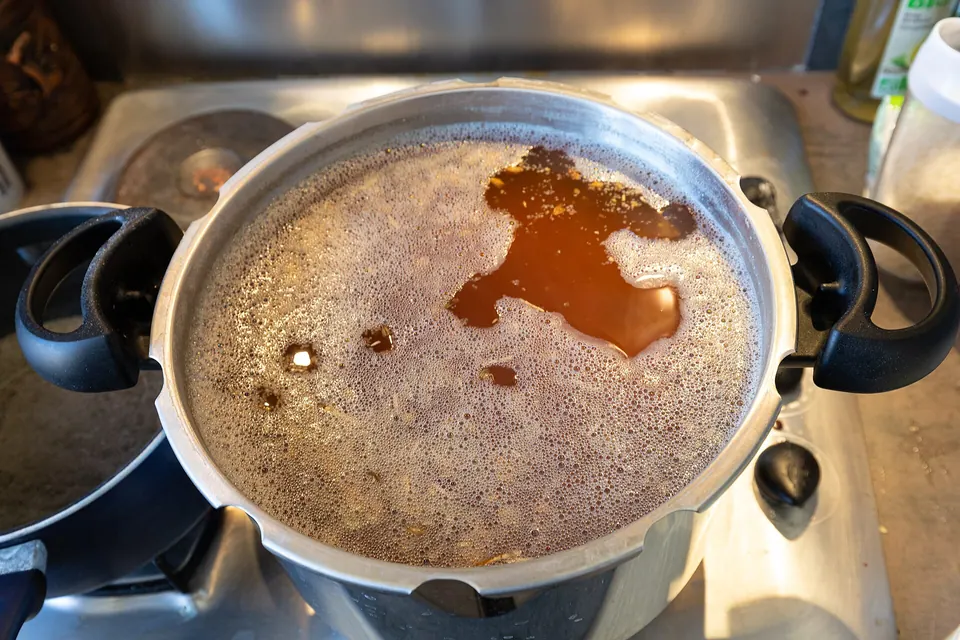
- Extract brewing skips the mash: you steep a little grain, dissolve malt extract, boil with hops, chill, add yeast and wait.
- Plan on about 3 hours of brew day, about 2 weeks of fermentation and about 2 weeks of bottle conditioning before the first cold one.
- Sanitation decides more first batches than any recipe. Clean first, then sanitize everything that touches cooled wort.
- Bottle only when the hydrometer reads the same 2–3 days in a row, and weigh priming sugar with a calculator.
- Brew for adults 21+ only. Homebrew is often stronger than store beer, so count standard drinks and never drink and drive.
If you want to learn how to brew beer at home, an extract kit is the shortest path from zero to a beer you are proud of. The brewery has already turned malted barley into concentrated malt extract, so your job is the part that shapes flavor: a short steep of specialty grain, a hop boil, fast chilling, healthy yeast and a clean, steady fermentation.
This guide walks a standard 5 gal (19 L) extract kit from the box to the bottle, with the same steps you would follow for a 1 gal (3.8 L) kit at a smaller scale. It follows the process taught in John Palmer’s How to Brew and the American Homebrewers Association’s beginner material, and it points to the calculators and data on this site wherever a number matters.
What you need for your first extract batch
Most 5 gal starter kits bundle the fermenting gear but leave two big items to you: a kettle and about 50 bottles. Read the “you still need” line on the kit before brew day. A 1 gal kit usually includes a small glass jug and fits a normal stockpot, which is why it suits apartments.
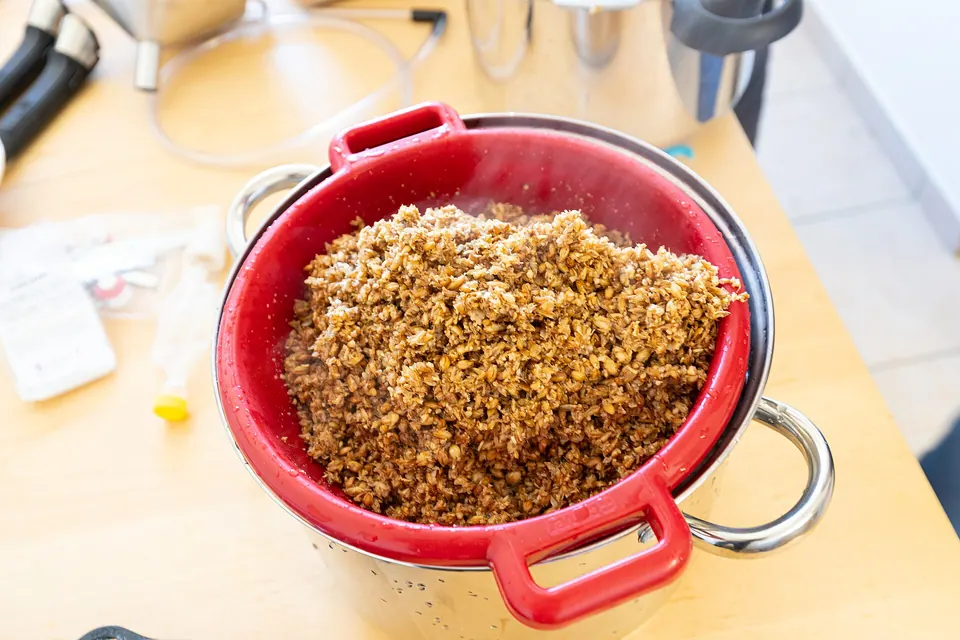
First-batch gear by job
| Job | Item | Notes |
|---|---|---|
| Boil | Kettle, 5 gal (19 L) or larger | ~ Partial boil of 2.5–3 gal works on a stove; a full 5 gal boil needs 7.5 gal+ and more heat |
| Ferment | Bucket or carboy with airlock | ✓ Usually in the kit; leave headspace for foam (krausen) |
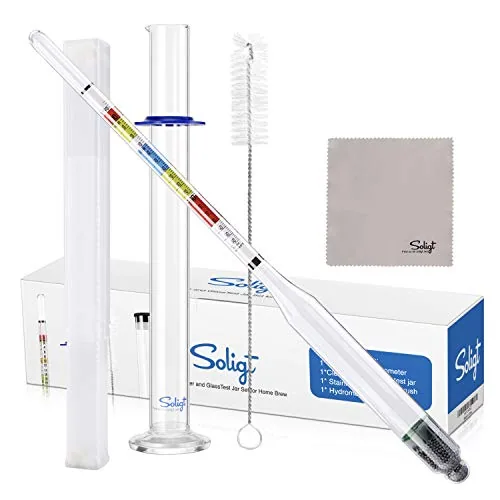
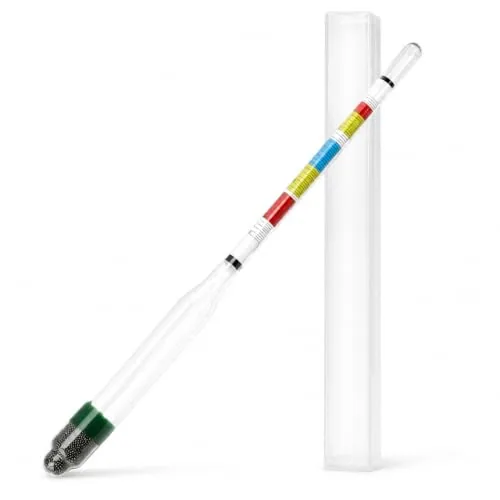
| Measure | Hydrometer and test jar | ✓ Needed to know when fermentation is done |
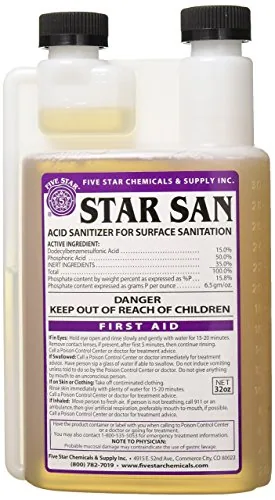
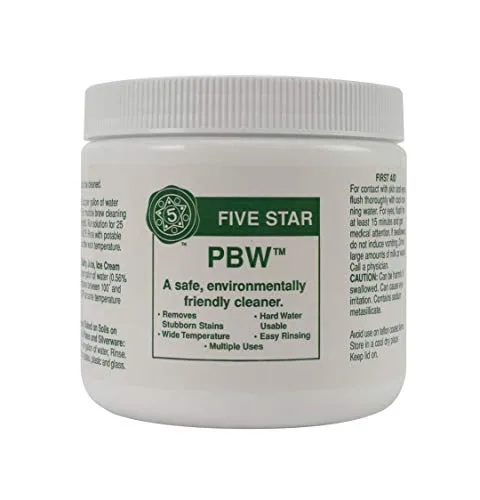
| Clean and sanitize | Unscented cleaner plus a no-rinse sanitizer | ✓ Star San is EPA-registered as a no-rinse sanitizer at label dilution |
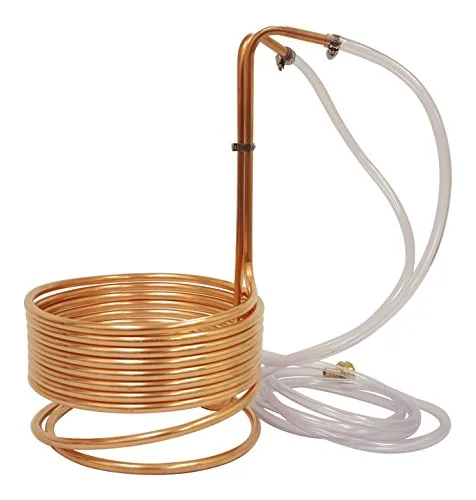
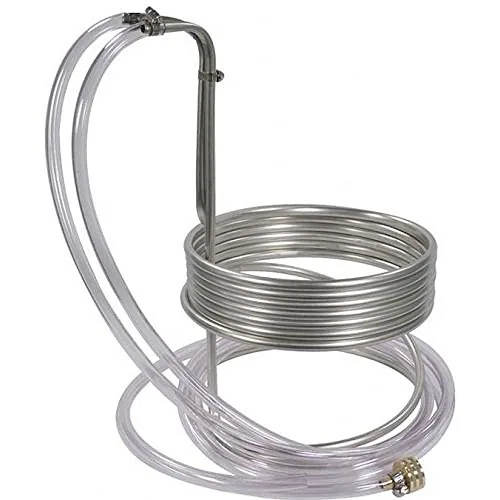
| Chill | Ice bath or immersion chiller | ~ An ice bath works for partial boils; a chiller saves time for full boils |
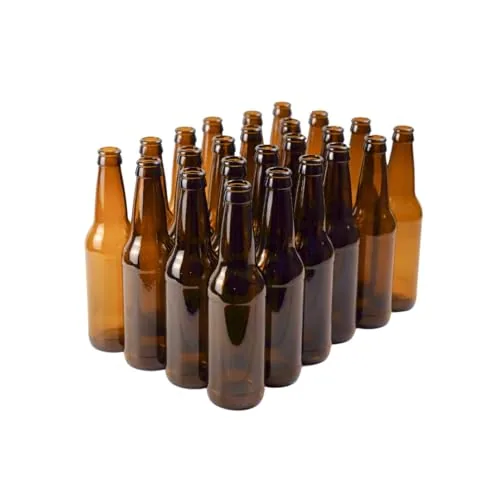
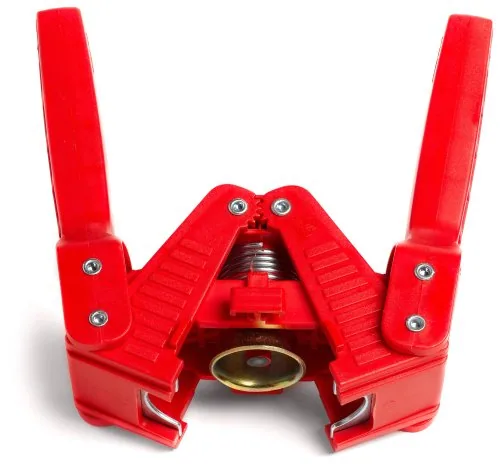
| Package | About 50 × 12 oz bottles, caps, capper, priming sugar | ✗ Often not in the kit; check the listing |
| Record | Brew log | ✓ Free printable log on this site |
Source: Northern Brewer and Brewer’s Best kit listings; Palmer, How to Brew
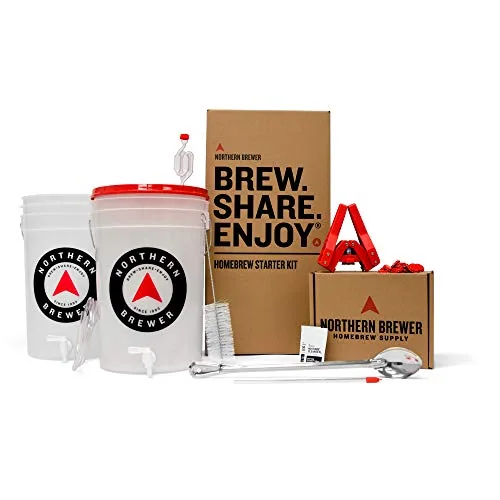
Northern Brewer Brew. Share. Enjoy. Starter Kit, Block Party Amber
- Batch size
- 5 gal
- Type
- Extract recipe kit + equipment
- Fermenter
- Siphonless fermenter
Best for A first 5-gallon extract batch
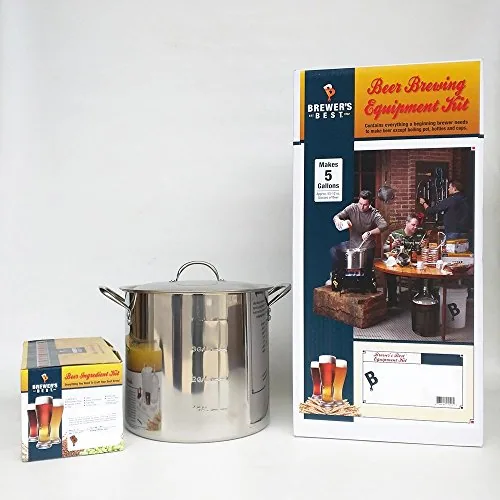
Brewer’s Best Deluxe Equipment Kit with Better Bottle, American Amber
- Batch size
- 5 gal
- Type
- Equipment + ingredient kit
- Fermenter
- Better Bottle PET carboy
Best for Full 5-gallon start incl. kettle
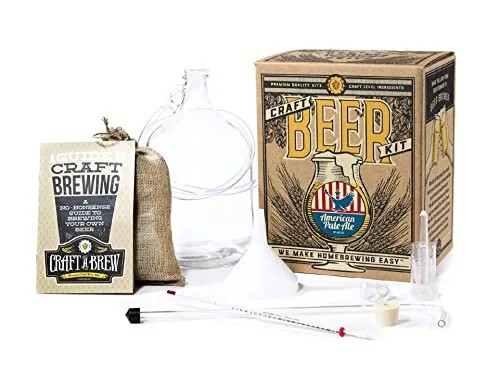
Craft A Brew 1 Gal Beer Making Kit, American Pale Ale
- Batch size
- 1 gal
- Type
- Extract recipe kit + equipment
- Still need
- Bottles and caps
Best for Small-batch first brew or gift
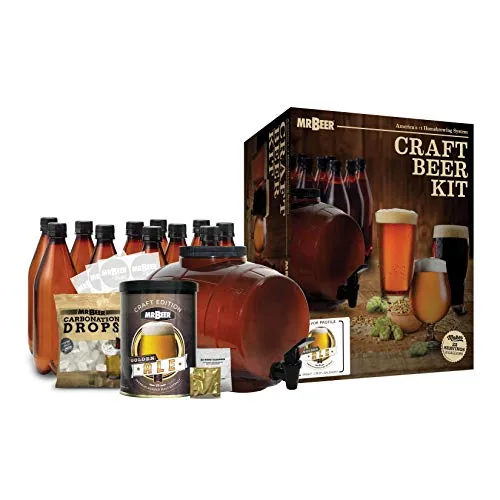
Mr. Beer 2 Gal Complete Beer Making Kit, Golden Ale
- Batch size
- 2 gal
- Type
- Hopped malt extract
- Fermenter
- 2 gal keg fermenter
Best for A first batch with almost no extra gear
Kits differ in how much they leave out. The Northern Brewer starter kit with kettle adds the boil pot and testing gear, the Brewer’s Best deluxe kit includes a kettle and a PET carboy but still needs bottles, the Craft A Brew 1 gal kit runs on a stockpot, and Mr. Beer ships its own small keg fermenter and reusable bottles. Our homebrew equipment checklist lists every item by stage.
How do you brew beer at home, step by step?
Read the kit instructions once from start to finish before you light anything. Kit recipes give their own steep temperatures, hop times and yeast, and those beat any general guide. The steps below are the standard sequence that nearly every extract kit follows.
- Clean, then sanitize
Wash the fermenter, lid, airlock, spoon, thermometer and hydrometer with an unscented cleaner and rinse. Then sanitize anything that will touch wort after the boil, mixing the sanitizer exactly at the label dilution. See cleaning vs sanitizing for the difference.
- Heat the water and steep the grains
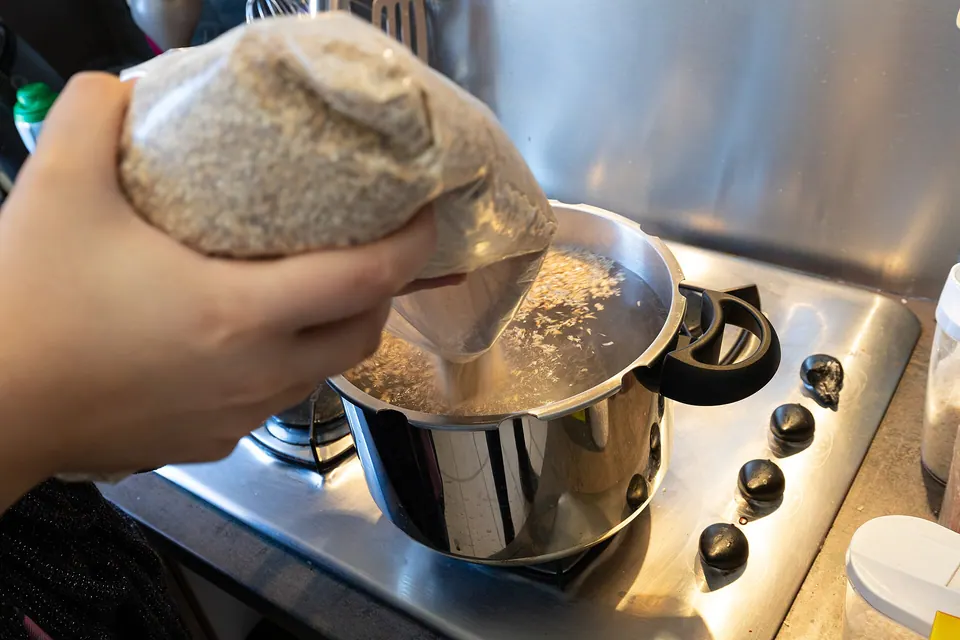
Heat 2.5–3 gal (9.5–11 L) of water for a partial boil. Most kits steep crushed specialty grain in a mesh bag at about 150–165°F (66–74°C) for 20–30 minutes. Lift the bag out and let it drain; don’t squeeze it hard, which can pull harsh tannins.
- Turn off the heat and stir in the extract
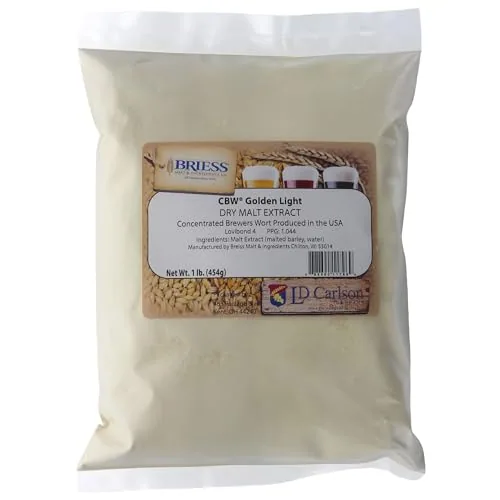
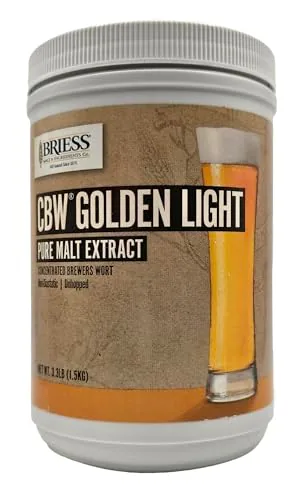
Take the pot off the burner before adding liquid or dry malt extract so it can’t scorch on the bottom. Stir until fully dissolved, then return to heat.
- Boil and add hops on schedule
Bring the wort to a rolling boil, uncovered, and start a 60-minute timer. Watch the first few minutes closely: the foam (hot break) can boil over in seconds. Add hops at the times the recipe lists, counting down from 60.
- Chill fast
Cool the wort to yeast-pitching temperature as fast as you can, in an ice bath in the sink or with an immersion chiller. Fast chilling reduces the time the wort is exposed and helps limit DMS (a cooked-corn flavor).
- Transfer, top up and take a reading
Pour or siphon the cooled wort into the sanitized fermenter and top up with clean, cool water to the batch volume. Mix well, then take an original gravity (OG) reading with the hydrometer and write it down.
- Aerate and pitch the yeast
Shake or stir the wort hard for a minute to dissolve air, since yeast needs oxygen to grow. Pitch the yeast the way the maker’s sheet says; Fermentis and Lallemand both allow direct pitching of their dry ale yeasts.
- Ferment somewhere steady
Seal the lid, fit the airlock half-filled with sanitizer and keep the fermenter in a dark spot at the low end of the yeast’s range. Fermenting beer runs several degrees warmer than the room in the first days.
- Confirm it is done
After about 2 weeks, take readings 2–3 days apart. When the final gravity (FG) stays the same, fermentation is finished. Bubbling in the airlock is not a reliable signal.
- Bottle and condition
Weigh priming sugar with the calculator, mix it into the beer in a bottling bucket, fill and cap. Leave the bottles at room temperature for about 2 weeks, then chill.
Yeast choice and fermentation temperature
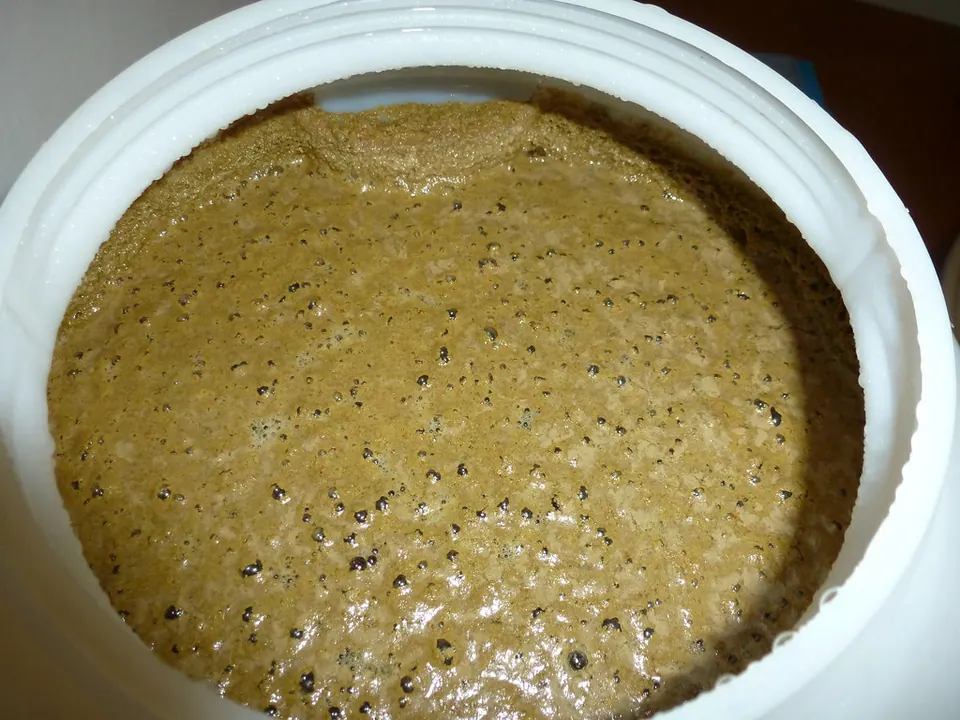
Yeast makes the beer, so the temperature you ferment at matters more than most first-timers expect. Each maker publishes a range on its technical sheet. Clean American ales ferment best at the lower end of the range; warm fermentation drives fruity esters and harsh fusel alcohols.
Dry yeast by the maker’s numbers
| Yeast | Use | Fermentation temp | Dose | Attenuation / tolerance | Rehydration |
|---|---|---|---|---|---|
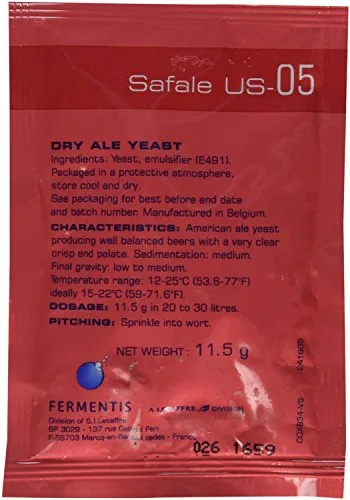
| SafAle US-05 Fermentis | Ale (American) | 18–26°C (64.4–78.8°F) | 50–80 g/hL | 78–82%; not listed on the product page | Optional: ≥10× its weight of sterile water or boiled, hopped wort at 25–29°C (77–84°F), 15–30 min; or direct pitch at or above fermentation temperature |
| SafAle S-04 Fermentis | Ale (English) | 18–26°C (64.4–78.8°F) | 50–80 g/hL | 74–82%; 9–11% ABV | Optional: ≥10× its weight of sterile water or boiled, hopped wort at 25–29°C (77–84°F), 15–30 min; or direct pitch at or above fermentation temperature |
| SafLager W-34/70 Fermentis | Lager | 12–18°C (53.6–64.4°F) | 80–120 g/hL | 80–84%; 9–11% ABV | Optional: ≥10× its weight of sterile water or boiled, hopped wort at 15–25°C (59–77°F), 15–30 min; or direct pitch at or above fermentation temperature |
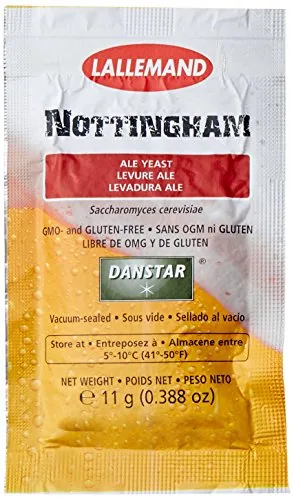
| LalBrew Nottingham Lallemand | Ale (English) | 10–25°C (50–77°F) | 50–100 g/hL | 78–84%; 14% ABV | Dry pitching is the maker's preferred method (no significant difference vs rehydration, per Lallemand) |
| LalBrew Voss (kveik) Lallemand | Ale (kveik) | 25–40°C (77–104°F) Optimum 35–40°C (95–104°F) per Lallemand | 50–100 g/hL | 76–82%; 12% ABV | Per the sachet |
| Lalvin EC-1118 Lallemand | Wine, cider, mead | 10–30°C (50–86°F) | 25 g/hL | Ferments dry; 18% v/v (subject to conditions) | 35–40°C (95–104°F) water for 20 min with Go-Ferm Protect Evolution (30 g/hL), then temper to within 5–10°C of the must |
Sources: Fermentis: SafAle US-05 product page; Fermentis: SafAle S-04 product page; Fermentis: SafLager W-34/70 product page; Lallemand: LalBrew Nottingham technical data sheet; Lallemand Brewing: LalBrew Voss Kveik Ale Yeast product page; Lallemand: Lalvin EC-1118 technical data sheet. 1 hL = 26.4 US gal, so 50 g/hL ≈ 1.9 g per gallon. Follow the sachet you buy; makers update their sheets.
In practice, a basement or interior closet that sits in the mid-60s °F (about 18°C) suits most ale kits. A garage that swings 20 degrees between day and night does not. If your space runs warm, a tub of water with a frozen bottle swapped daily (a swamp cooler) buys several degrees; a fridge with a controller solves the problem for good. Our fermentation temperature guide covers both.
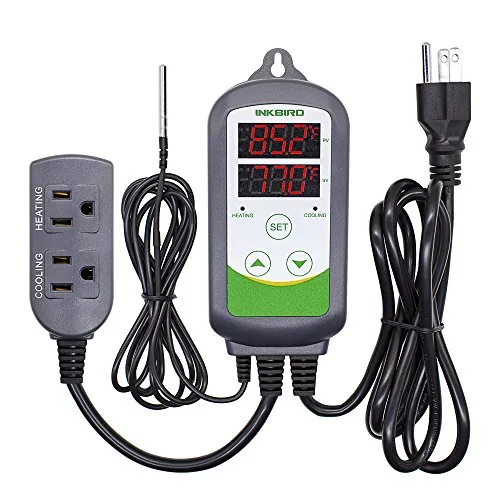
Inkbird ITC-308 Dual-Stage Temperature Controller, 110V
- Outputs
- 2 outlets: heating and cooling
- Range
- °C/°F display, high/low alarms
- Power
- 110V, 10A, 1100 W max (listing)
Best for Fridge or heat-wrap fermentation control
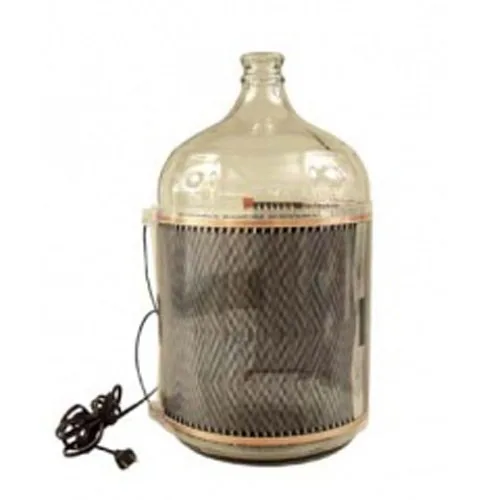
Eagle Brewing FE650 FermWrap Heater, 40W
- Material
- Flexible wrap, tape-on
- Outputs
- Flexible heating wrap, 40 W
- Type
- Fermentation heater
Best for Warming ales in a cold garage
First styles that forgive mistakes
Your first kit should be a style that tolerates small temperature swings and doesn’t depend on perfect hop aroma. Amber ales, blonde ales, American pale ales and Irish stouts all fit. The numbers below are the BJCP 2021 ranges, which give you a target for your hydrometer readings.
Beer styles by the numbers (BJCP 2021 vital statistics)
| Style | OG | FG | IBU | Color (SRM) | ABV |
|---|---|---|---|---|---|
| 18A Blonde Ale | 1.038–1.054 | 1.008–1.013 | 15–28 | 3–6 | 3.8–5.5% |
| 18B American Pale Ale | 1.045–1.060 | 1.010–1.015 | 30–50 | 5–10 | 4.5–6.2% |
| 19A American Amber Ale | 1.045–1.060 | 1.010–1.015 | 25–40 | 10–17 | 4.5–6.2% |
| 15B Irish Stout | 1.036–1.044 | 1.007–1.011 | 25–45 | 25–40 | 3.8–5.0% |
Source: BJCP 2021 Beer Style Guidelines. Ranges are for judging; your recipe can sit anywhere inside them. Color swatches are an on-screen approximation.
Skip lagers and very strong beers on batch one. Lagers need 48–55°F (9–13°C) fermentation for weeks, and high-gravity beers need more yeast and oxygen. Our beginner beer styles guide goes deeper.
Safety on brew day
A 5 gal kettle of boiling wort weighs about 40 lb (18 kg). Use a stable burner, keep handles turned in and wear closed shoes. Stovetop partial boils are the right call indoors. If you move to a full boil on propane, the burner goes outside in open air, never in the garage, even with the door up.
Glass jugs and carboys break when you pour hot wort into them or carry them by the neck. Pour only cooled wort into glass, and carry full glass by the base.
Mistakes to avoid on your first batch
- Sanitizing before cleaning. Sanitizer can’t reach microbes hidden under residue. Clean first.
- Pitching yeast into warm wort. Wait until the wort is inside the yeast’s range; very hot wort can kill yeast and warm starts produce off-flavors.
- Trusting the airlock. A quiet airlock can mean a leaky lid, not a finished beer. Use the hydrometer.
- Bottling early. Unfinished beer keeps fermenting in the bottle and can over-carbonate or burst bottles.
- Guessing priming sugar. Use the priming sugar calculator with the warmest temperature the beer reached.
- Opening the fermenter to look. Every peek risks oxygen and infection. Leave it closed.
- Fermenting in a warm room. 75°F air can mean 80°F beer at peak fermentation.
After fermentation: bottles or kegs, and measuring strength
Once the readings are stable, use the ABV calculator with your OG and FG. A typical amber kit lands in the 4.5–6% range, which is already stronger than many light lagers. The calculator also shows standard drinks per serving, using the NIAAA definition of 14 g of pure alcohol.
Most people bottle the first few batches; how to bottle homebrew has the full routine and the bottle-bomb rules. Kegging comes later, when washing 50 bottles every batch starts to feel like work. See how to keg homebrew.
Who should start with which kit
- Apartment, small kitchen or a gift for an adult 21+: a 1 gal kit (Craft A Brew, Northern Brewer 1 gal) or Mr. Beer. Everything fits on a stove and in a closet.
- You already know you like the hobby: a 5 gal starter kit with a kettle, so you aren’t shopping for a pot on brew day.
- You want to grow into all-grain later: buy a kettle of 8 gal (30 L) or more now. It handles full boils today and brew-in-a-bag tomorrow. See how to brew all-grain.
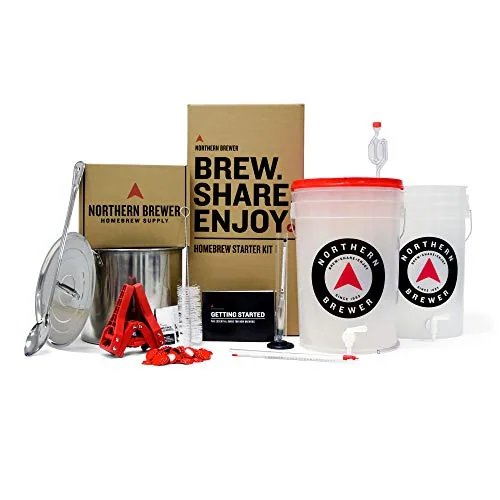
Northern Brewer Starter Kit with Kettle, Chinook IPA, 5 Gal
- Batch size
- 5 gal
- Type
- Extract recipe kit + equipment
- Includes
- Brew kettle, testing equipment, Chinook IPA recipe kit
Best for Hop-forward first batch
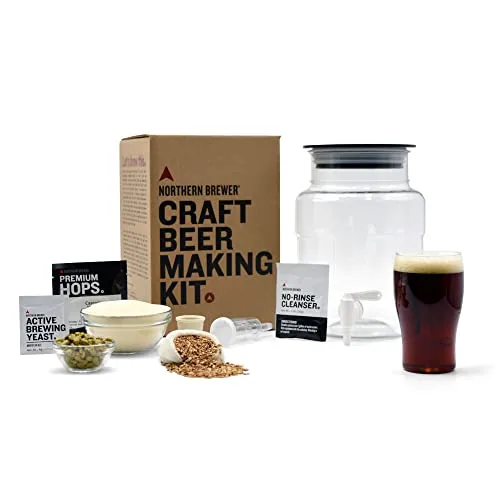
Northern Brewer 1 Gal Beer Starter Kit, Brown Ale
- Batch size
- 1 gal
- Type
- Extract recipe kit + equipment
- Includes
- Brown Ale ingredients
Best for Small first batch or gift
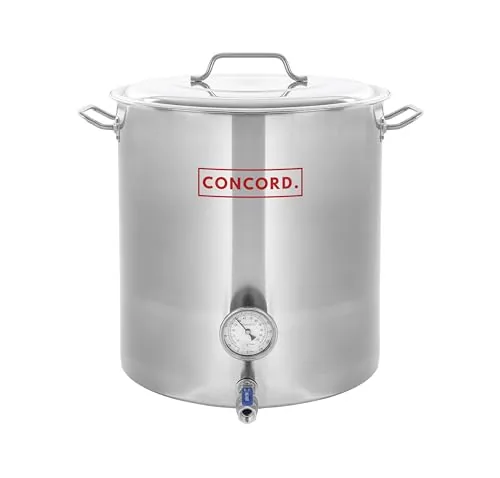
Concord Stainless Brew Kettle, Weldless Fittings, 7.5 gal
- Volume
- 30 qt (7.5 gal)
- Power
- Stovetop or outdoor burner
- Material
- Stainless steel, 304 stainless fittings
Best for 7.5 gal boils on a budget
Gear picks for this guide: best beer making kits for beginners and best homebrew kits.
Questions
How long does it take to brew beer at home?
Is it hard to brew beer at home?
What do I need to brew beer at home?
Can you brew beer in an apartment?
Is homebrewing cheaper than buying beer?
How do I know when fermentation is finished?
Do I have to boil for 60 minutes with extract?
Sources
- John Palmer, How to Brew (4th ed., Brewers Publications; online edition)
- American Homebrewers Association: How to brew
- AHA: How to take an accurate hydrometer reading
- BJCP 2021 Beer Style Guidelines
- Fermentis: SafAle US-05 product page
- BYO: Carbonation priming chart
- Penn State Extension: Beer, hard cider and distilled spirits production
- NIAAA: What is a standard drink?