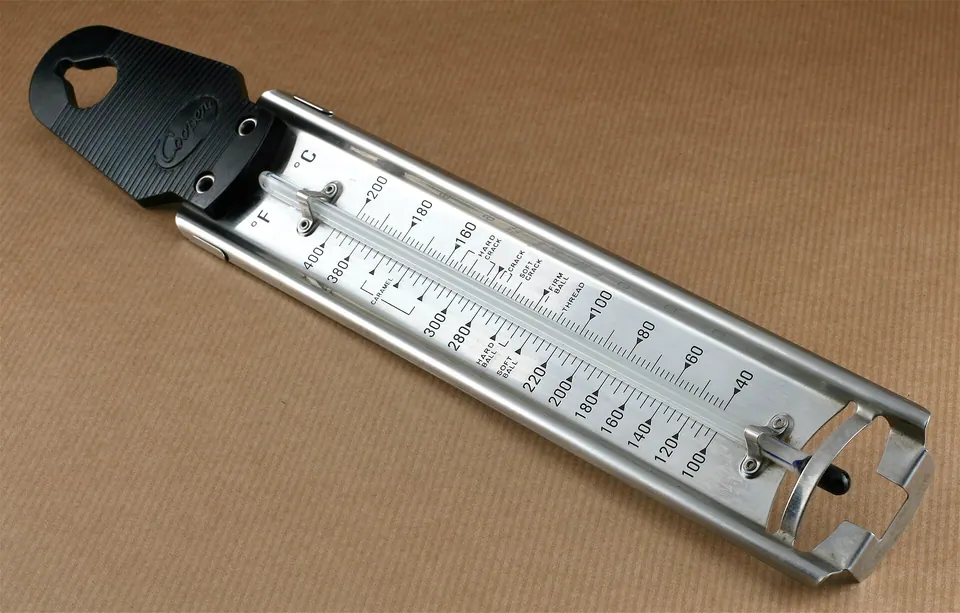
- The best fermentation chamber is a box that holds the fermenter (fridge, freezer, kegerator or insulated bag), a way to cool it, a way to heat it and a controller that reads the beer.
- Our catalogue doesn’t carry plain mini fridges or chest freezers, so this list covers a kegerator that doubles as a chamber, the controller, heaters, insulated bags and a glycol route.
- No power for cooling? A Cool Brewing bag with frozen bottles is rated by its maker at about 10°F below room temperature with two 2-liter bottles.
- Fridge plus dual-stage controller plus a 35–40 W class wrap is the setup most brewers grow into.
The best fermentation chamber setup holds your beer inside the yeast maker’s temperature range all year, in the space you actually have. In a hot garage that mostly means cooling; in a cold basement it means heat; in most of the US it means both. You can build a chamber from a fridge or freezer you already own, buy a kegerator that can be set as high as 75°F, or skip electricity for cooling with an insulated bag and ice.
We picked nine parts from eight brands that cover each route. Plain fridges and chest freezers aren’t in our catalogue, so where a setup starts with “your fridge”, that is honest advice rather than a missing link. All specs are as the makers list them.
Our picks
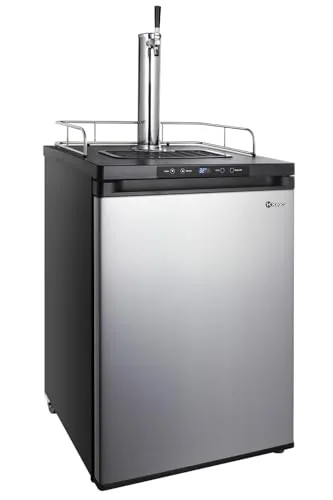
Kegco HBK309S-1 Homebrew Kegerator, 1 Tap, Stainless
Kegco
- Taps
- 1
- Kegs
- Homebrew (ball lock) kegs
- Temp range
- Digital, 1° steps; Deep Chill; dispense or ferment
Kegco’s HBK309S-1 single-tap homebrew kegerator has digital control in 1-degree steps, fan-forced cooling and a range the listing says reaches as low as 32°F and wide enough to ferment. Kegco’s HBK309S-2K listing gives the family’s range as 32–75°F and says the interior can hold a 6-gallon bucket or carboy. Ferment in it now, serve from it later.
Best for: Brewers who will keg within a year
Skip if: You only need fermentation space and already own a fridge
- Digital control in 1° steps
- Range covers fermenting and serving
- Fan-forced cooling
- Listing says not for outdoor use; check the manual’s ambient range for a garage
- One fermenter at a time
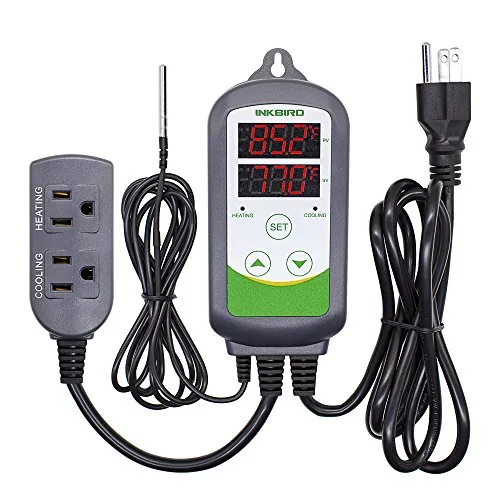
Inkbird ITC-308 Dual-Stage Temperature Controller, 110V
Inkbird
- Outputs
- 2 outlets: heating and cooling
- Range
- °C/°F display, high/low alarms
- Power
- 110V, 10A, 1100 W max (listing)
The Inkbird ITC-308 turns any fridge or freezer into a chamber: one outlet for cooling, one for heating, a dual display, alarms and a compressor delay. This listing gives 1100 W at 110V; follow the manual for your unit.
Best for: A spare fridge or chest freezer
Skip if: You bought a kegerator with its own digital thermostat and don’t need heat
- Heat and cool outlets
- Compressor delay
- Plug-in, no wiring
- Load figure varies between listings
- No app on this model
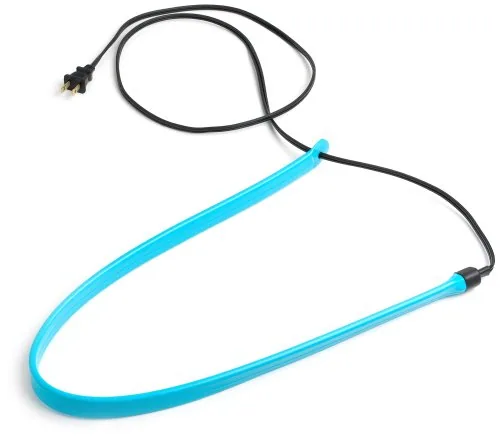
FastRack Brew Belt Fermentation Heater, Large
FastRack
- Outputs
- Heating belt for 6–8 gal plastic fermenters
- Range
- Holds 75–80°F (maker)
- Type
- Fermentation heater
FastRack’s large Brew Belt fits 6–8 gal plastic fermenters and holds 75–80°F per the maker. Inside a chamber, plug it into the controller’s heating outlet so the controller decides when it runs.
Best for: Winter heat for wine and warm-fermenting yeast
Skip if: You ferment in glass or stainless (the maker lists plastic fermenters)
- Fits 6–8 gal buckets
- Simple belt
- Maker-stated 75–80°F
- Fixed heat without a controller
- Wattage not listed
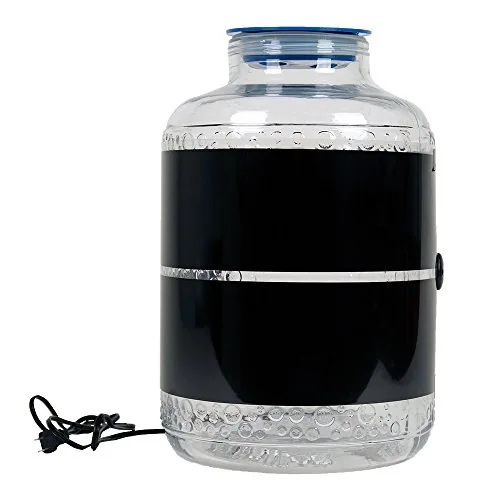
Northern Brewer FermoTemp Electric Fermentation Heater
Northern Brewer
- Material
- Flexible, extra-thick construction
- Outputs
- Wrap heater, 110V 35 W
- Type
- Fermentation heater
Northern Brewer’s FermoTemp is a 35 W, 110V wrap that tapes to glass, plastic or stainless and is meant to run on a temperature controller. Low wattage means gentle heat that won’t overshoot quickly.
Best for: Cold garages and basements
Skip if: Your chamber never gets colder than your yeast range
- 35 W
- Works on glass, plastic, stainless
- Standard outlet
- Taped on
- Needs a controller
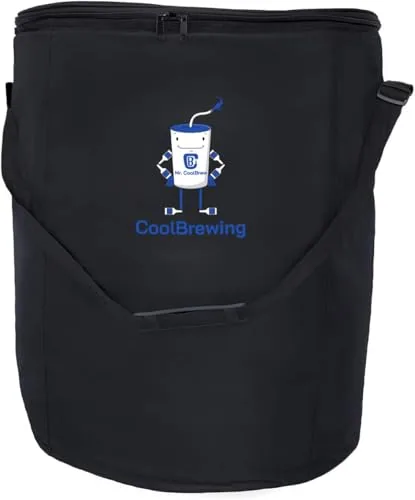
Cool Brewing Fermentation Cooler Bag
Cool Brewing
- Volume
- Fits a 5 gal fermenter
- Outputs
- Insulated bag for ice bottles or packs
- Type
- Insulated fermentation bag
The Cool Brewing bag is insulated and waterproof and uses frozen bottles or ice packs. The maker says two frozen 2-liter bottles give about a 10°F drop below room temperature, three give about 15°F, scalable to about 30°F, and it fits fermenters up to 8 gallons.
Best for: Apartments and summer ales without a spare fridge
Skip if: You can’t swap ice bottles once or twice a day
- No electricity for cooling
- Maker-stated 10–30°F drop
- Folds away
- Manual ice swaps
- Temperature drifts between swaps
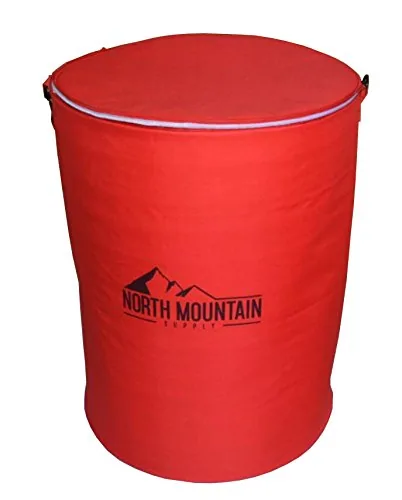
North Mountain Supply Fermentation Cooler Bag, up to 8 Gal
North Mountain Supply
- Volume
- Carboys to 6.5 gal or fermenters to 8 gal with airlock
- Material
- Insulated bag
- Type
- Insulated fermentation bag
North Mountain Supply’s insulated bag fits carboys up to 6.5 gal or fermenters up to 8 gal with the airlock attached. Add frozen bottles to cool or a wrap to warm.
Best for: Tall carboys and buckets with airlocks
Skip if: You want a stated temperature drop figure
- Airlock fits inside
- Up to 8 gal
- Space-saving
- No cooling figure listed
- Ice or heater not included
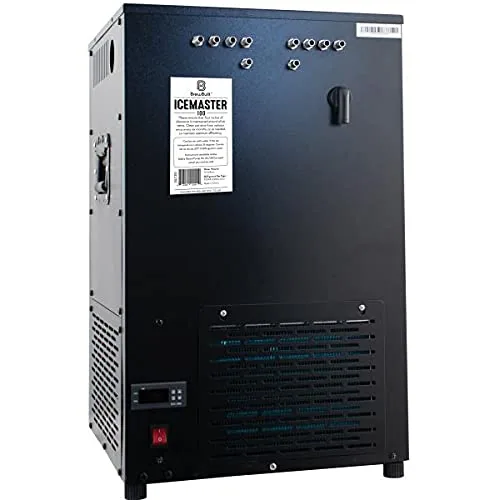
BrewBuilt IceMaster 100 Glycol Chiller
BrewBuilt
- Volume
- 30 L (8 gal) water tank
- Outputs
- 10 stainless bulkheads, 3/8 in. barbs
- Range
- 950 W / 3200 BTU cooling, 110V 3.6 A
The BrewBuilt IceMaster 100 runs on 110V at 3.6 A, with a 3/8 HP compressor, 950 W (3200 BTU) cooling capacity, a 30 L tank and ten stainless bulkheads. It cools coils or jackets in several fermenters without a fridge around each one.
Best for: Stainless conicals and multiple fermenters
Skip if: You ferment one batch at a time in a fridge
- 950 W cooling (listed)
- Ten bulkheads
- 110V
- Each vessel still needs a coil, pump and controller
- Glycol mix per the manual
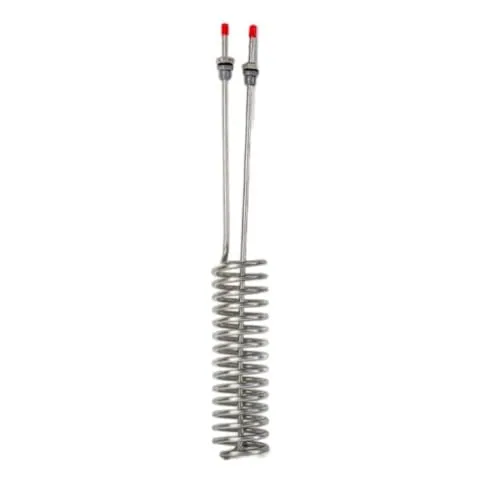
Temp Twister Stainless Cooling/Heating Coil
Temp Twister
- Material
- Stainless steel
- Outputs
- Coil for use with a glycol chiller
- Type
- Cooling/heating coil
The Temp Twister is a stainless coil that drops into a keg or fermenter and connects to a glycol chiller, turning a plain vessel into a cooled one.
Best for: Adding glycol cooling to kegs and buckets
Skip if: You don’t own a glycol chiller or pump
- Stainless
- Fits kegs or fermenters
- Glycol compatible
- Dimensions and fittings not listed
- Needs a lid that passes the lines
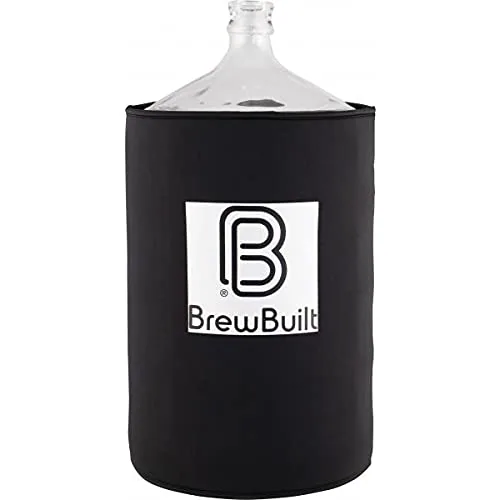
BrewBuilt Neoprene Carboy Sleeve, 5 Gal
BrewBuilt
- Volume
- Fits 5 gal glass carboy
- Material
- Neoprene, 6 mm
- Type
- Carboy sleeve
BrewBuilt’s 6 mm neoprene sleeve fits a 5-gallon glass carboy. It slows temperature swings, blocks light and adds a little padding to glass.
Best for: Carboys in a cool room or inside a bag
Skip if: Your fermenter isn’t a 5 gal carboy
- 6 mm neoprene
- Blocks light
- Slip-on
- Insulates only; no cooling
- Fits 5 gal carboys only
Which fermentation chamber setup fits your space?
Four chamber routes compared
| Route | Cooling | Heating | Power | Best for |
|---|---|---|---|---|
| Fridge or freezer + ITC-308 | ✓ Fridge compressor | ✓ Wrap or belt on the heat outlet | 110V outlet | Most garages and basements |
| Kegerator (Kegco HBK309) | ✓ Built in | ~ Add a wrap and controller for cold rooms | 115V, 1.7 running A (2K listing) | Brewers who will keg |
| Insulated bag + ice | ~ 10–30°F drop with frozen bottles (maker) | ~ Add a wrap | None for cooling | Apartments, summer ales |
| Glycol chiller + coil | ✓ IceMaster 100, 950 W | ~ Coil can circulate warm water | 110V, 3.6 A | Several or stainless fermenters |
Source: Kegco, Cool Brewing and BrewBuilt listings
Whichever route you pick, the chamber only has to do three jobs: keep the beer from overheating while the yeast is most active in the first two to three days, keep it from cooling below the yeast range at night or in winter, and hold steady for cold-crashing at the end. A fridge with a dual-stage controller does all three on its own. A bag needs you to swap ice, and a glycol loop needs a pump and a controller per fermenter, so count the parts before you choose.
Cool Brewing bag: maker-stated drop below room temperature
°F, by frozen 2-liter bottles used
How cold or warm does the chamber need to get?
Aim for the yeast maker’s range, and remember that an active fermentation can run several degrees above the air around it. Ales usually sit in the 60s °F; lagers want the high 40s to low 50s °F, which an ice bag can’t hold for long in summer but a fridge can. For lagers in a hot garage, use a fridge, freezer or glycol.
Dry yeast by the maker’s numbers
| Yeast | Use | Fermentation temp | Dose | Attenuation / tolerance | Rehydration |
|---|---|---|---|---|---|
| SafAle US-05 Fermentis | Ale (American) | 18–26°C (64.4–78.8°F) | 50–80 g/hL | 78–82%; not listed on the product page | Optional: ≥10× its weight of sterile water or boiled, hopped wort at 25–29°C (77–84°F), 15–30 min; or direct pitch at or above fermentation temperature |
| SafAle S-04 Fermentis | Ale (English) | 18–26°C (64.4–78.8°F) | 50–80 g/hL | 74–82%; 9–11% ABV | Optional: ≥10× its weight of sterile water or boiled, hopped wort at 25–29°C (77–84°F), 15–30 min; or direct pitch at or above fermentation temperature |
| SafLager W-34/70 Fermentis | Lager | 12–18°C (53.6–64.4°F) | 80–120 g/hL | 80–84%; 9–11% ABV | Optional: ≥10× its weight of sterile water or boiled, hopped wort at 15–25°C (59–77°F), 15–30 min; or direct pitch at or above fermentation temperature |
| LalBrew Nottingham Lallemand | Ale (English) | 10–25°C (50–77°F) | 50–100 g/hL | 78–84%; 14% ABV | Dry pitching is the maker's preferred method (no significant difference vs rehydration, per Lallemand) |
| LalBrew Voss (kveik) Lallemand | Ale (kveik) | 25–40°C (77–104°F) Optimum 35–40°C (95–104°F) per Lallemand | 50–100 g/hL | 76–82%; 12% ABV | Per the sachet |
| Lalvin EC-1118 Lallemand | Wine, cider, mead | 10–30°C (50–86°F) | 25 g/hL | Ferments dry; 18% v/v (subject to conditions) | 35–40°C (95–104°F) water for 20 min with Go-Ferm Protect Evolution (30 g/hL), then temper to within 5–10°C of the must |
Sources: Fermentis: SafAle US-05 product page; Fermentis: SafAle S-04 product page; Fermentis: SafLager W-34/70 product page; Lallemand: LalBrew Nottingham technical data sheet; Lallemand Brewing: LalBrew Voss Kveik Ale Yeast product page; Lallemand: Lalvin EC-1118 technical data sheet. 1 hL = 26.4 US gal, so 50 g/hL ≈ 1.9 g per gallon. Follow the sachet you buy; makers update their sheets.
When fermentation is done, the same chamber can cold-crash and, with a keg inside, carbonate. Use the keg carbonation chart for the serving pressure at that temperature.
How to build a fridge fermentation chamber in 6 steps
- Measure the fridge
Check the inside height with the fermenter and airlock or blow-off tube. Remove or bend shelves only if the manual allows it.
- Add the controller
Plug the fridge into the cooling outlet and set a compressor delay.
- Add gentle heat
Tape a low-wattage wrap or a belt to the fermenter and plug it into the heating outlet.
- Mount the probe on the beer
Tape the probe to the fermenter wall under a fold of foam or towel, away from the heater.
- Run it empty for a day
Fill a fermenter with water, set your target and watch it for 24 hours before you pitch yeast.
- Log and adjust
Note set points and readings in the brew-day log, and pitch the right amount of yeast with the pitch rate calculator.
For the controller choice in detail, see our fermentation temperature controller picks; for a cone that fits inside, see conical fermenters.
Chamber mistakes to avoid
- Heater right next to the probe. The controller shuts the heat off before the beer warms. Put them on opposite sides.
- No drip tray. Blow-off and spills collect in the bottom of a fridge; set the fermenter in a tray.
- Running a fridge in a garage that is hotter or colder than its manual allows. Check the ambient range in the manual.
- Carrying a full glass carboy into a chest freezer by its neck. Lift it by the base in a crate, or switch to PET.
- Letting ice bottles run out. In a bag, swap bottles on a schedule during the first three days, when fermentation is most active.
Keep controllers and power strips outside the chamber, use a GFCI-protected outlet, and keep cords away from the drip tray. Follow each heater’s manual; some listings add their own use warnings.
Who should pick which chamber setup?
| If you… | Pick |
|---|---|
| Plan to keg within a year | Kegco HBK309S-1 (ferment now, serve later) |
| Own a spare fridge or freezer | Inkbird ITC-308 + Northern Brewer FermoTemp |
| Live in an apartment with no spare fridge | Cool Brewing bag or North Mountain Supply bag |
| Ferment in big plastic buckets in winter | FastRack Brew Belt (large), on a controller |
| Run stainless conicals or several fermenters | BrewBuilt IceMaster 100 + Temp Twister coils |
| Use glass carboys in a cool room | BrewBuilt neoprene sleeve |
See more ideas in temperature control and summer brewing and apartment and small-space brewing.
If you have a spare fridge, the Inkbird ITC-308 plus a FermoTemp wrap is the most practical fermentation chamber setup. If kegging is next, a Kegco HBK309S-1 serves as both. With no spare fridge, start with a Cool Brewing bag and frozen bottles; with several stainless fermenters, go glycol.
Before you buy, read fermentation temperature guide and kegerator and keezer conversion guide. For a closer look, see Inkbird ITC-308 review.
We compared chamber routes using maker listings and manuals: listed temperature ranges, running current, cooling capacity, heater wattage and fit, and yeast maker temperature ranges. We note where a listing gives no figure. We did not build or run these chambers. No scores, ratings or prices.